Carpet. Why did we ever?! Cozy yes… but oh-so very dirty, and oh-so not a good idea for a farmhouse with fur babies! 😳
In Spring 2018 we decided that we’d like to replace the flooring in all rooms within our home that have carpet… room-by-room, year-by-year. We were dreaming of hardwoods… realizing very quickly that they’d never fit within our budget (even if we installed them ourselves). But OH how I wanted farmhouse wood flooring! A farmwife can dream right?! 😌
With a little research, we learned of others that had installed their own plywood flooring — which is the method we went with when we did our girls’ room in Spring 2018. Although we’re quite pleased with the end-result… re-finishing if ever needed/desired isn’t an option, as you can’t effectively strip n’ sand plywood.
So… for our boys’ room this Spring 2019 we decided to go with another inexpensive method we learned of — softwood flooring… and so we got started!
Our Method
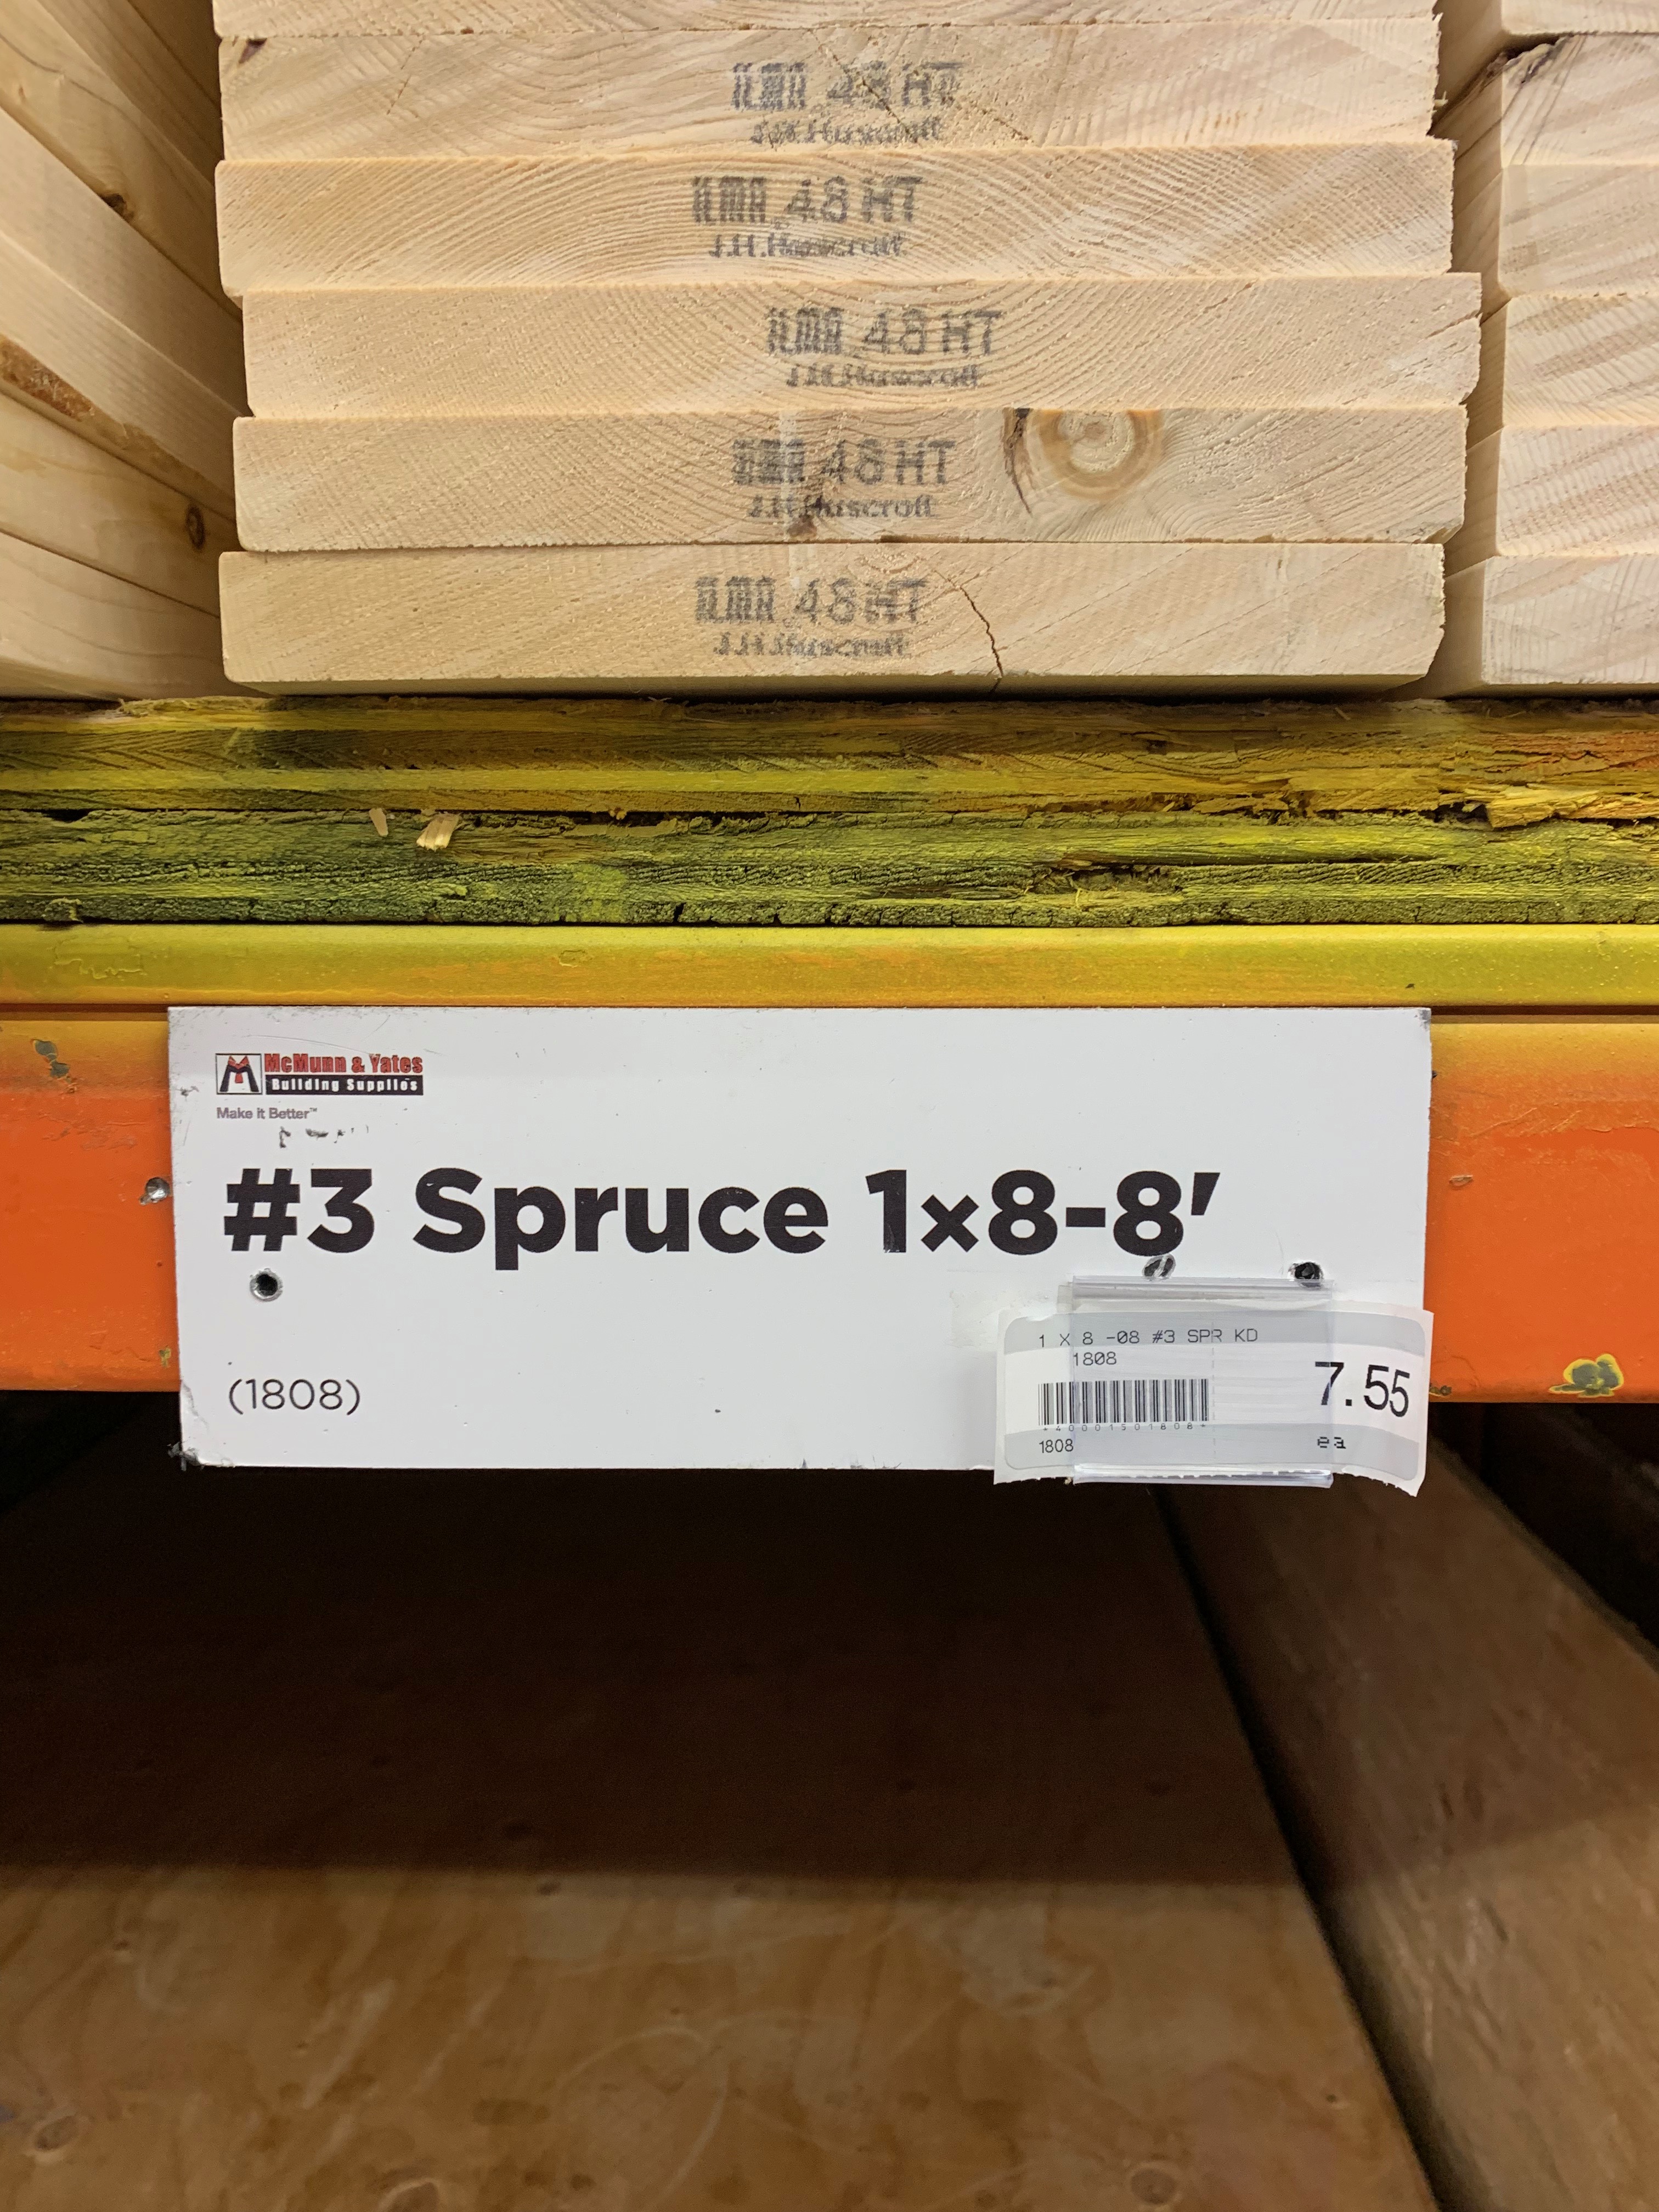
Visited our local McMunn & Yates in search of reasonably priced WIDE softwood planks:
Removed carpet and discovered a “lovely” vintage vinyl underneath… not however quite the transformation we had in mind:
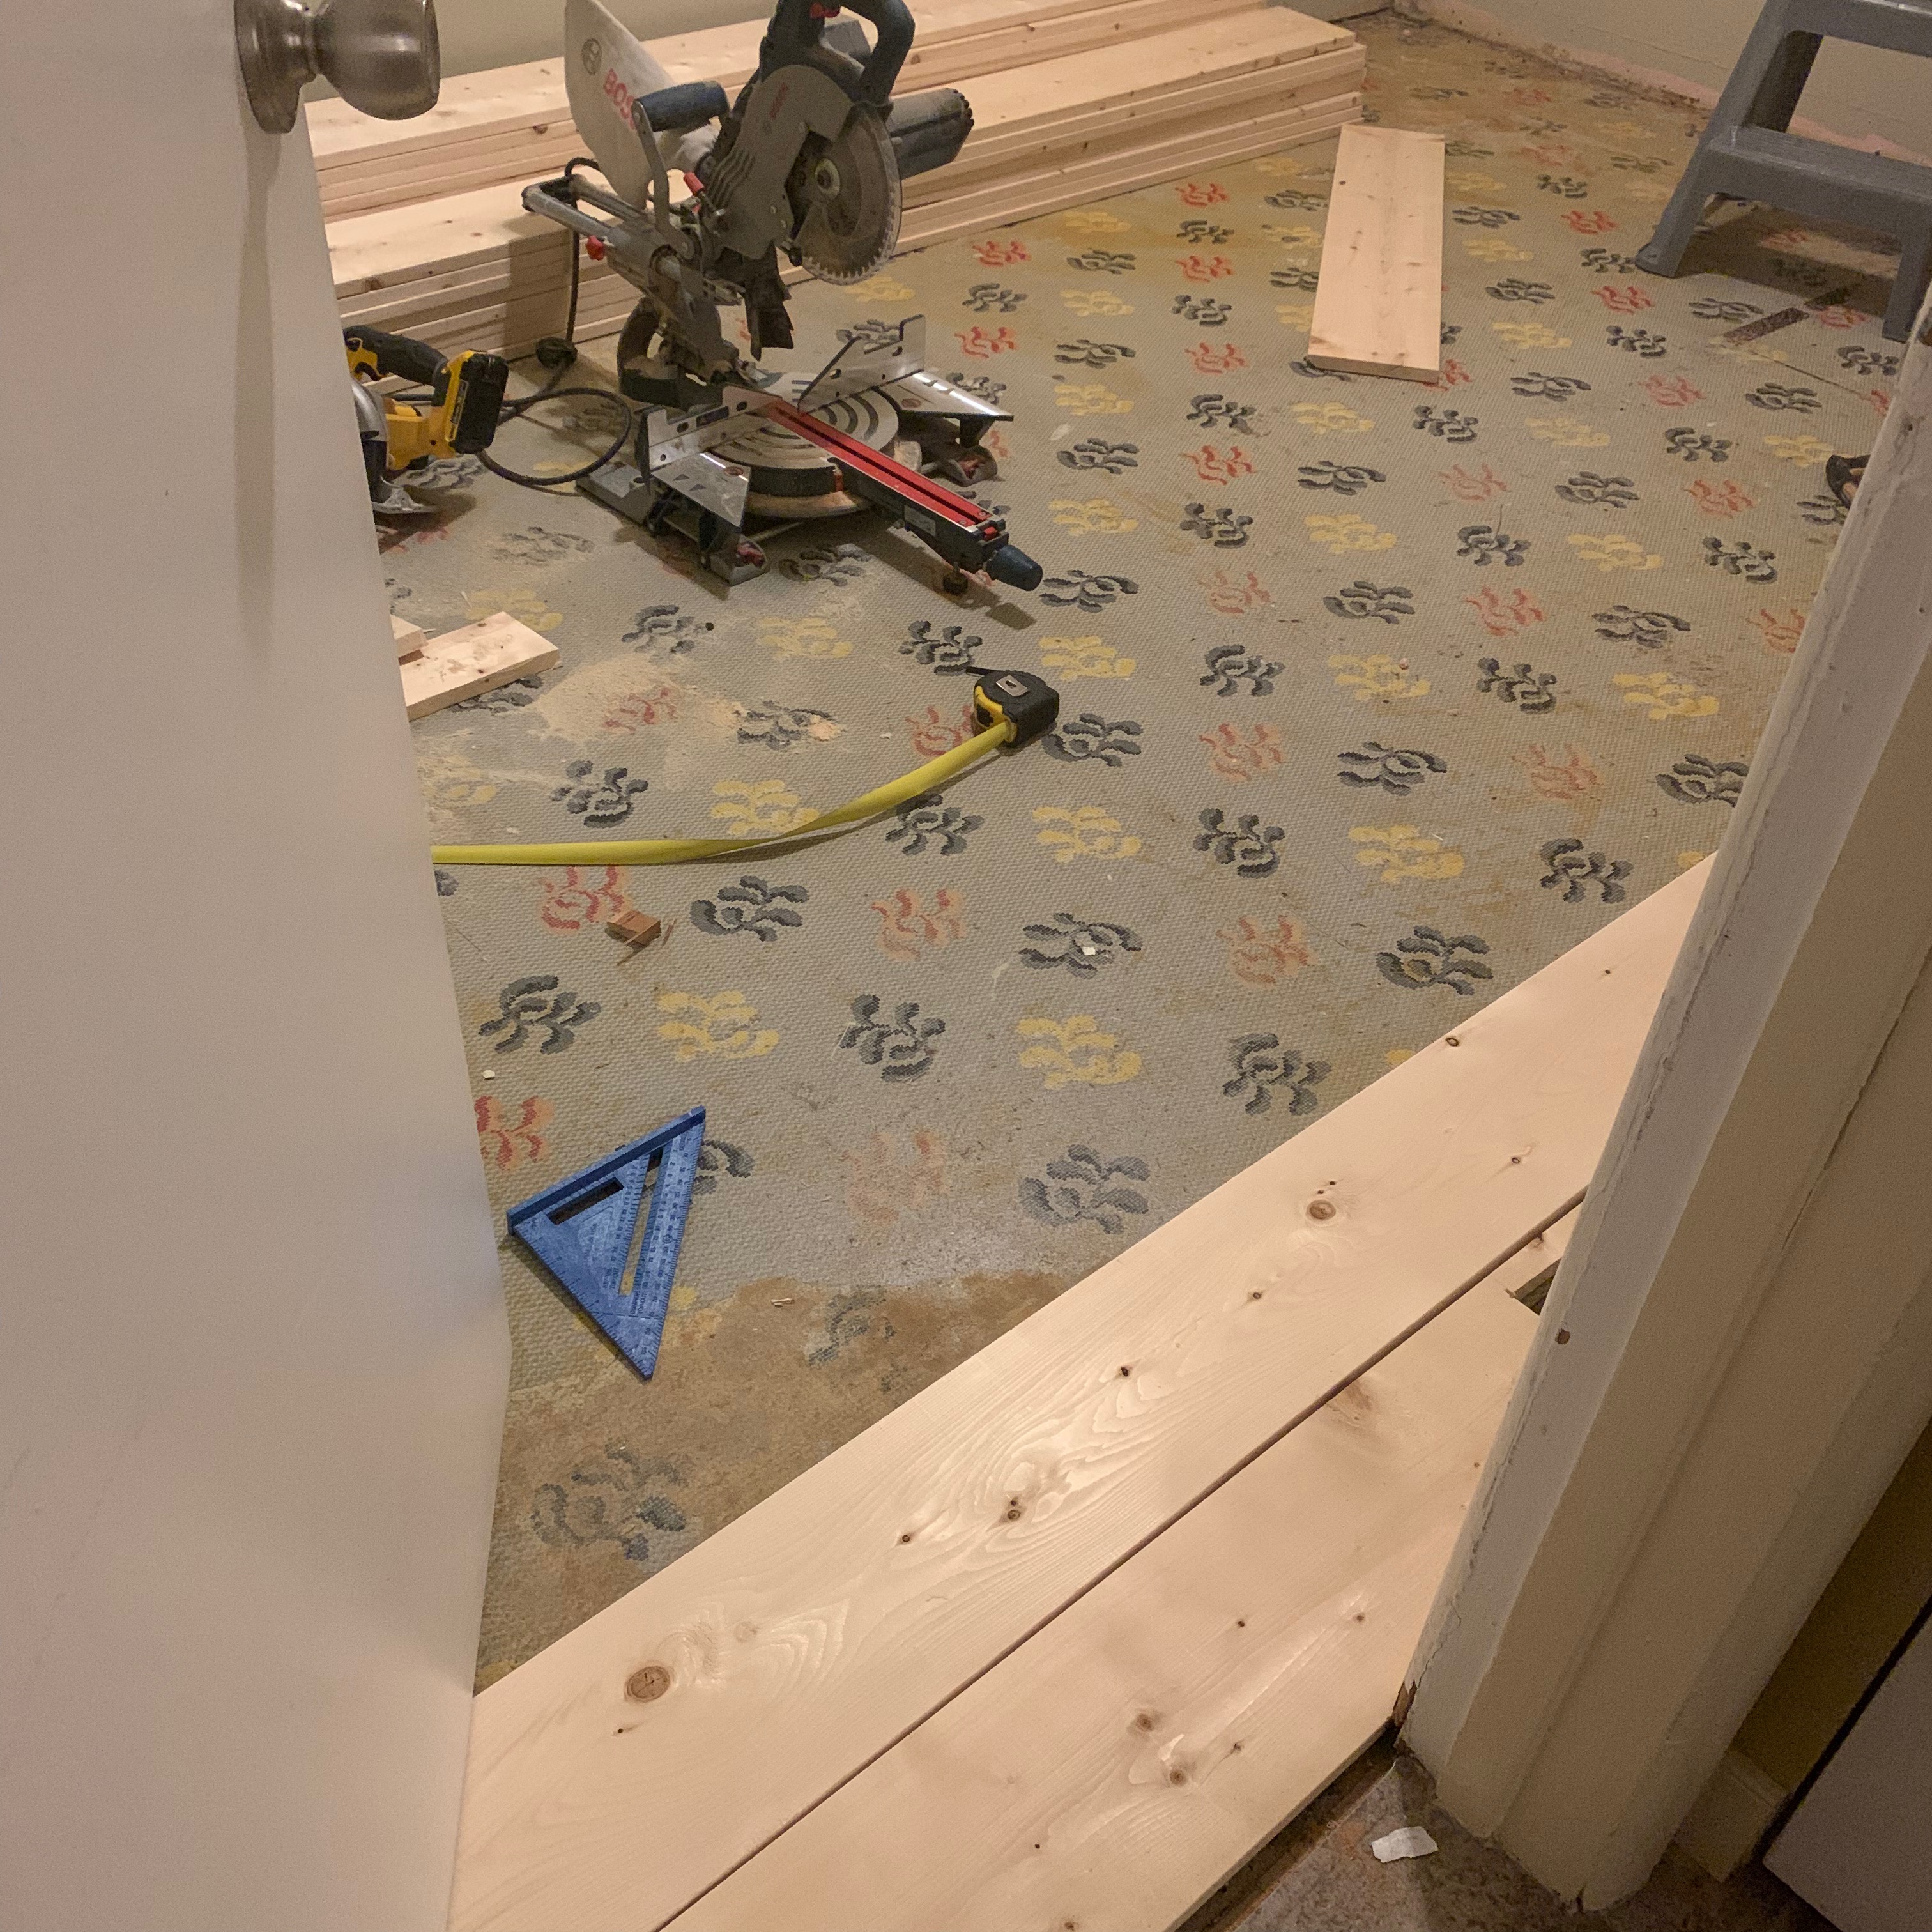
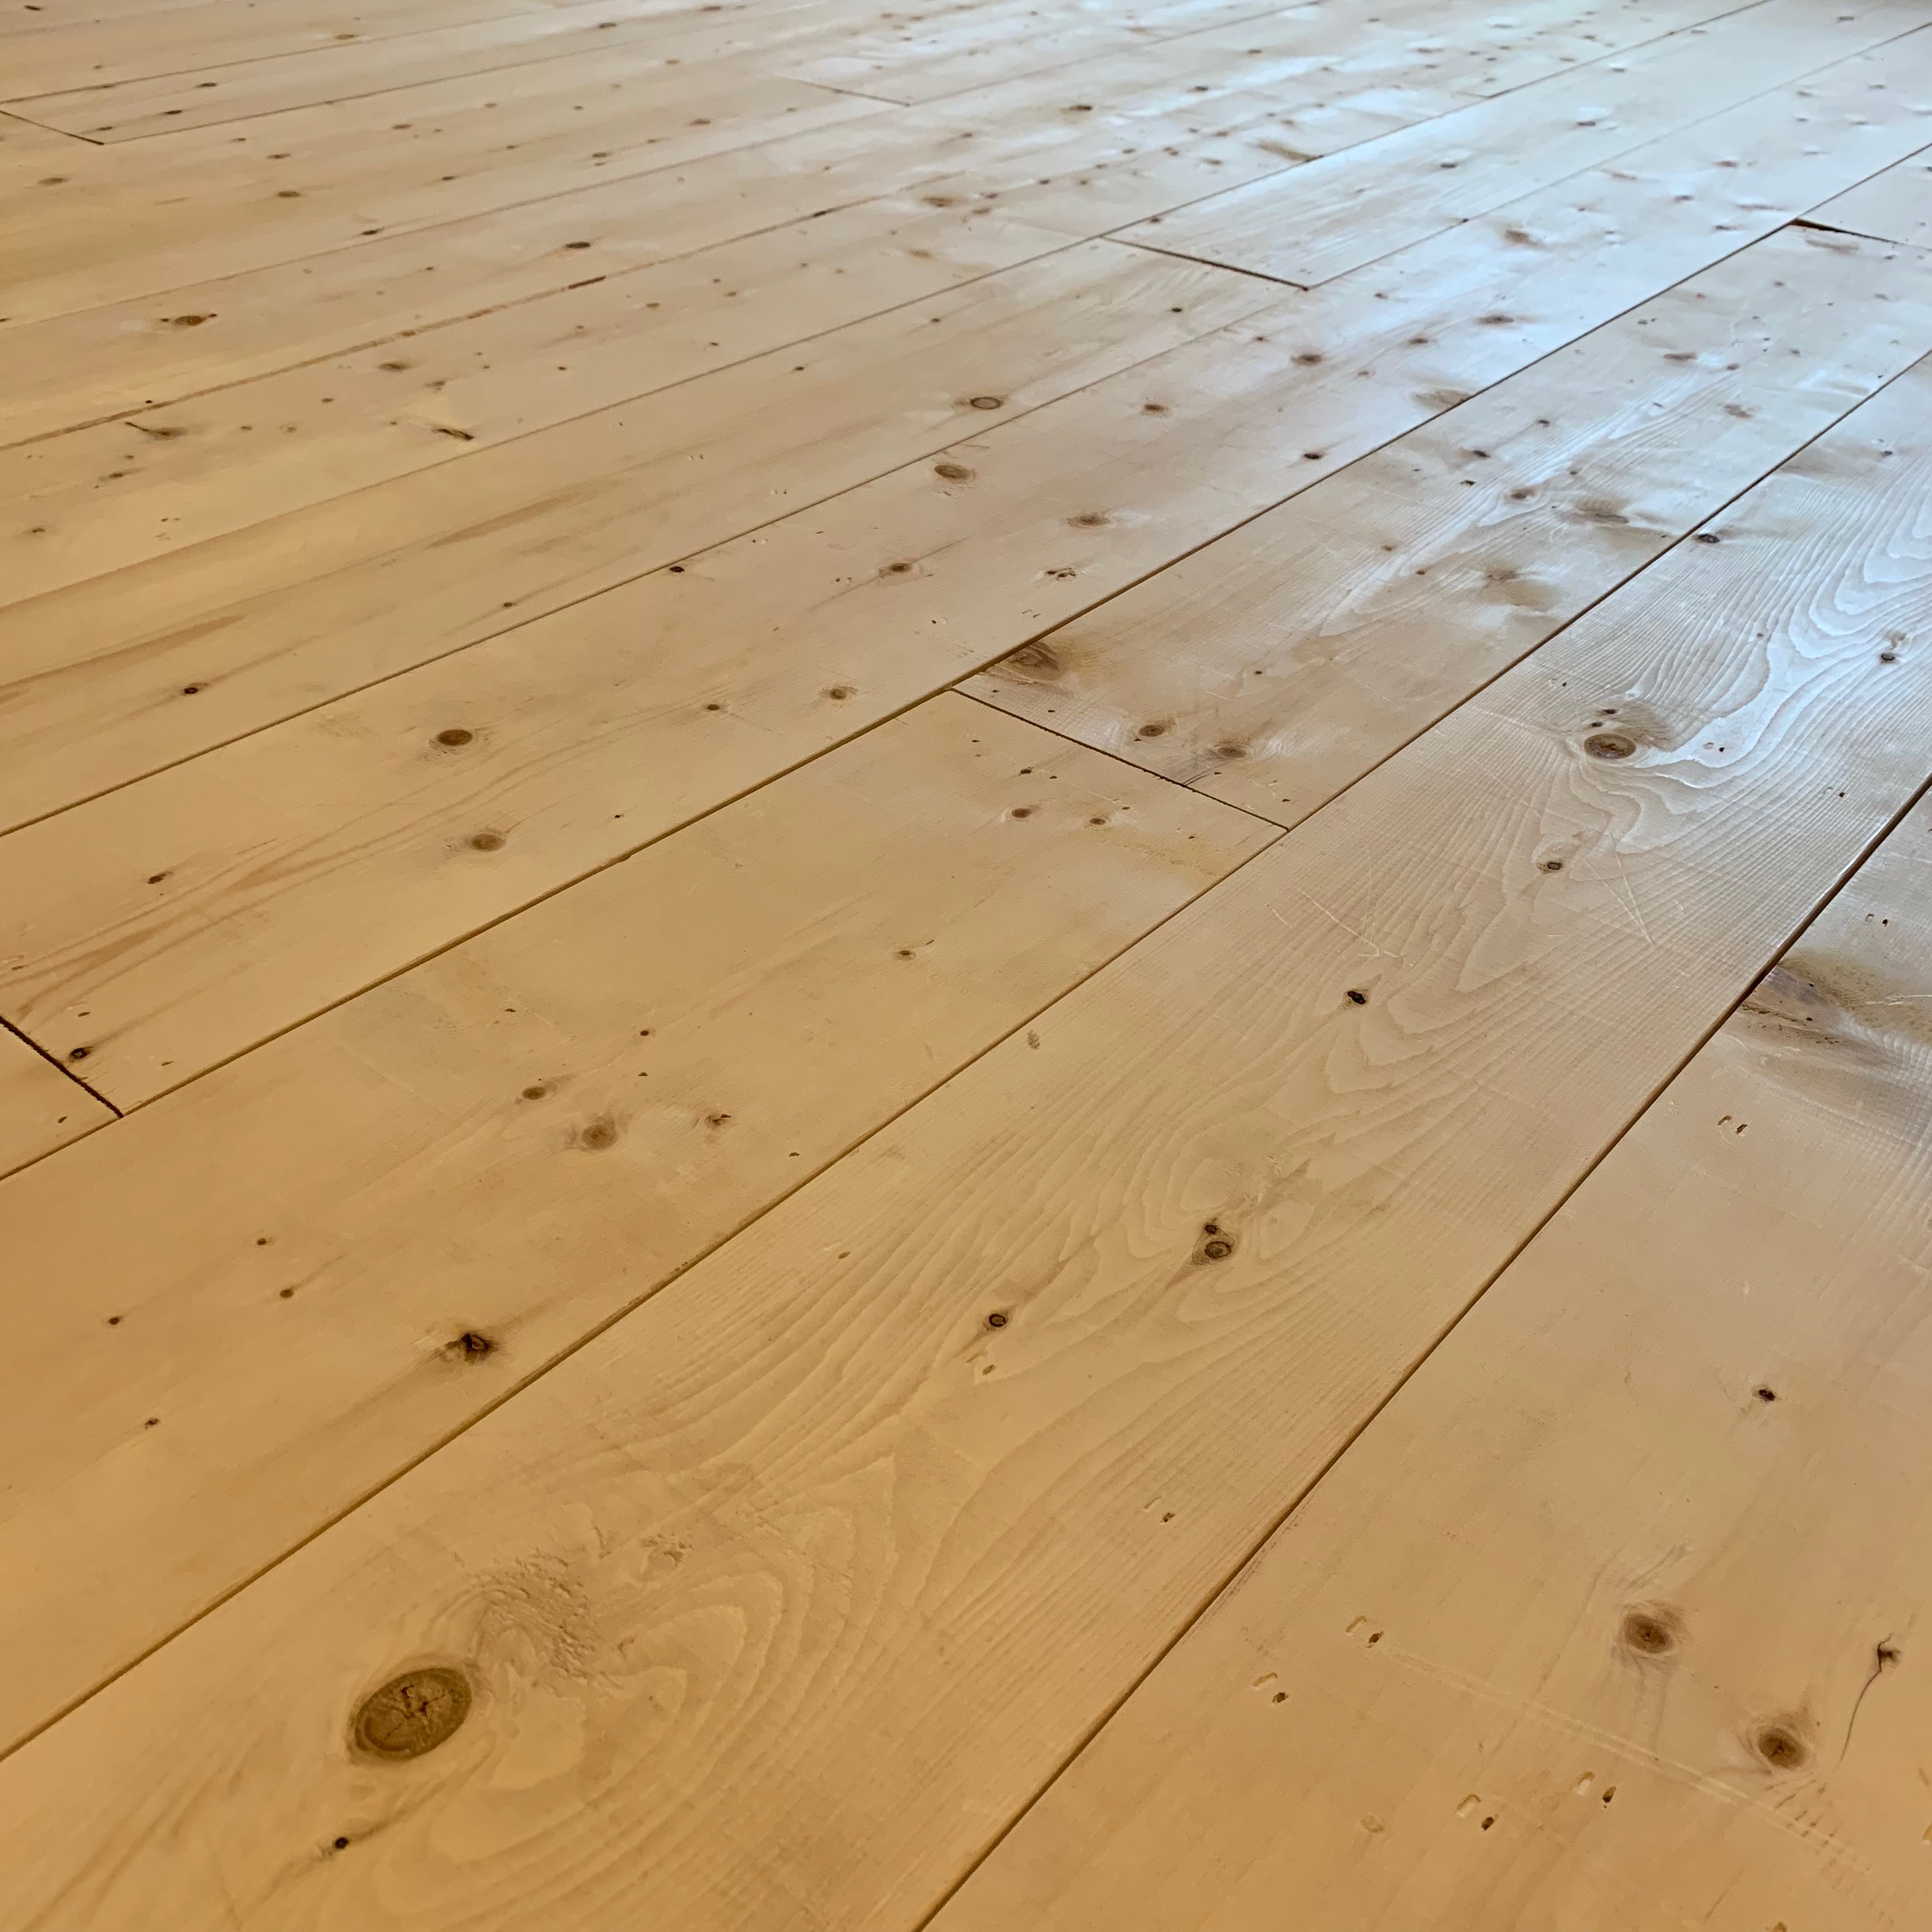
Measured, cut and stagger installed (air-nailed) spruce wood planks:
Applied 2 coats of Minwax Wood Finish in the colour ‘Early American 230’. JUST the colour I was dreaming of for our farmhouse! First coat:
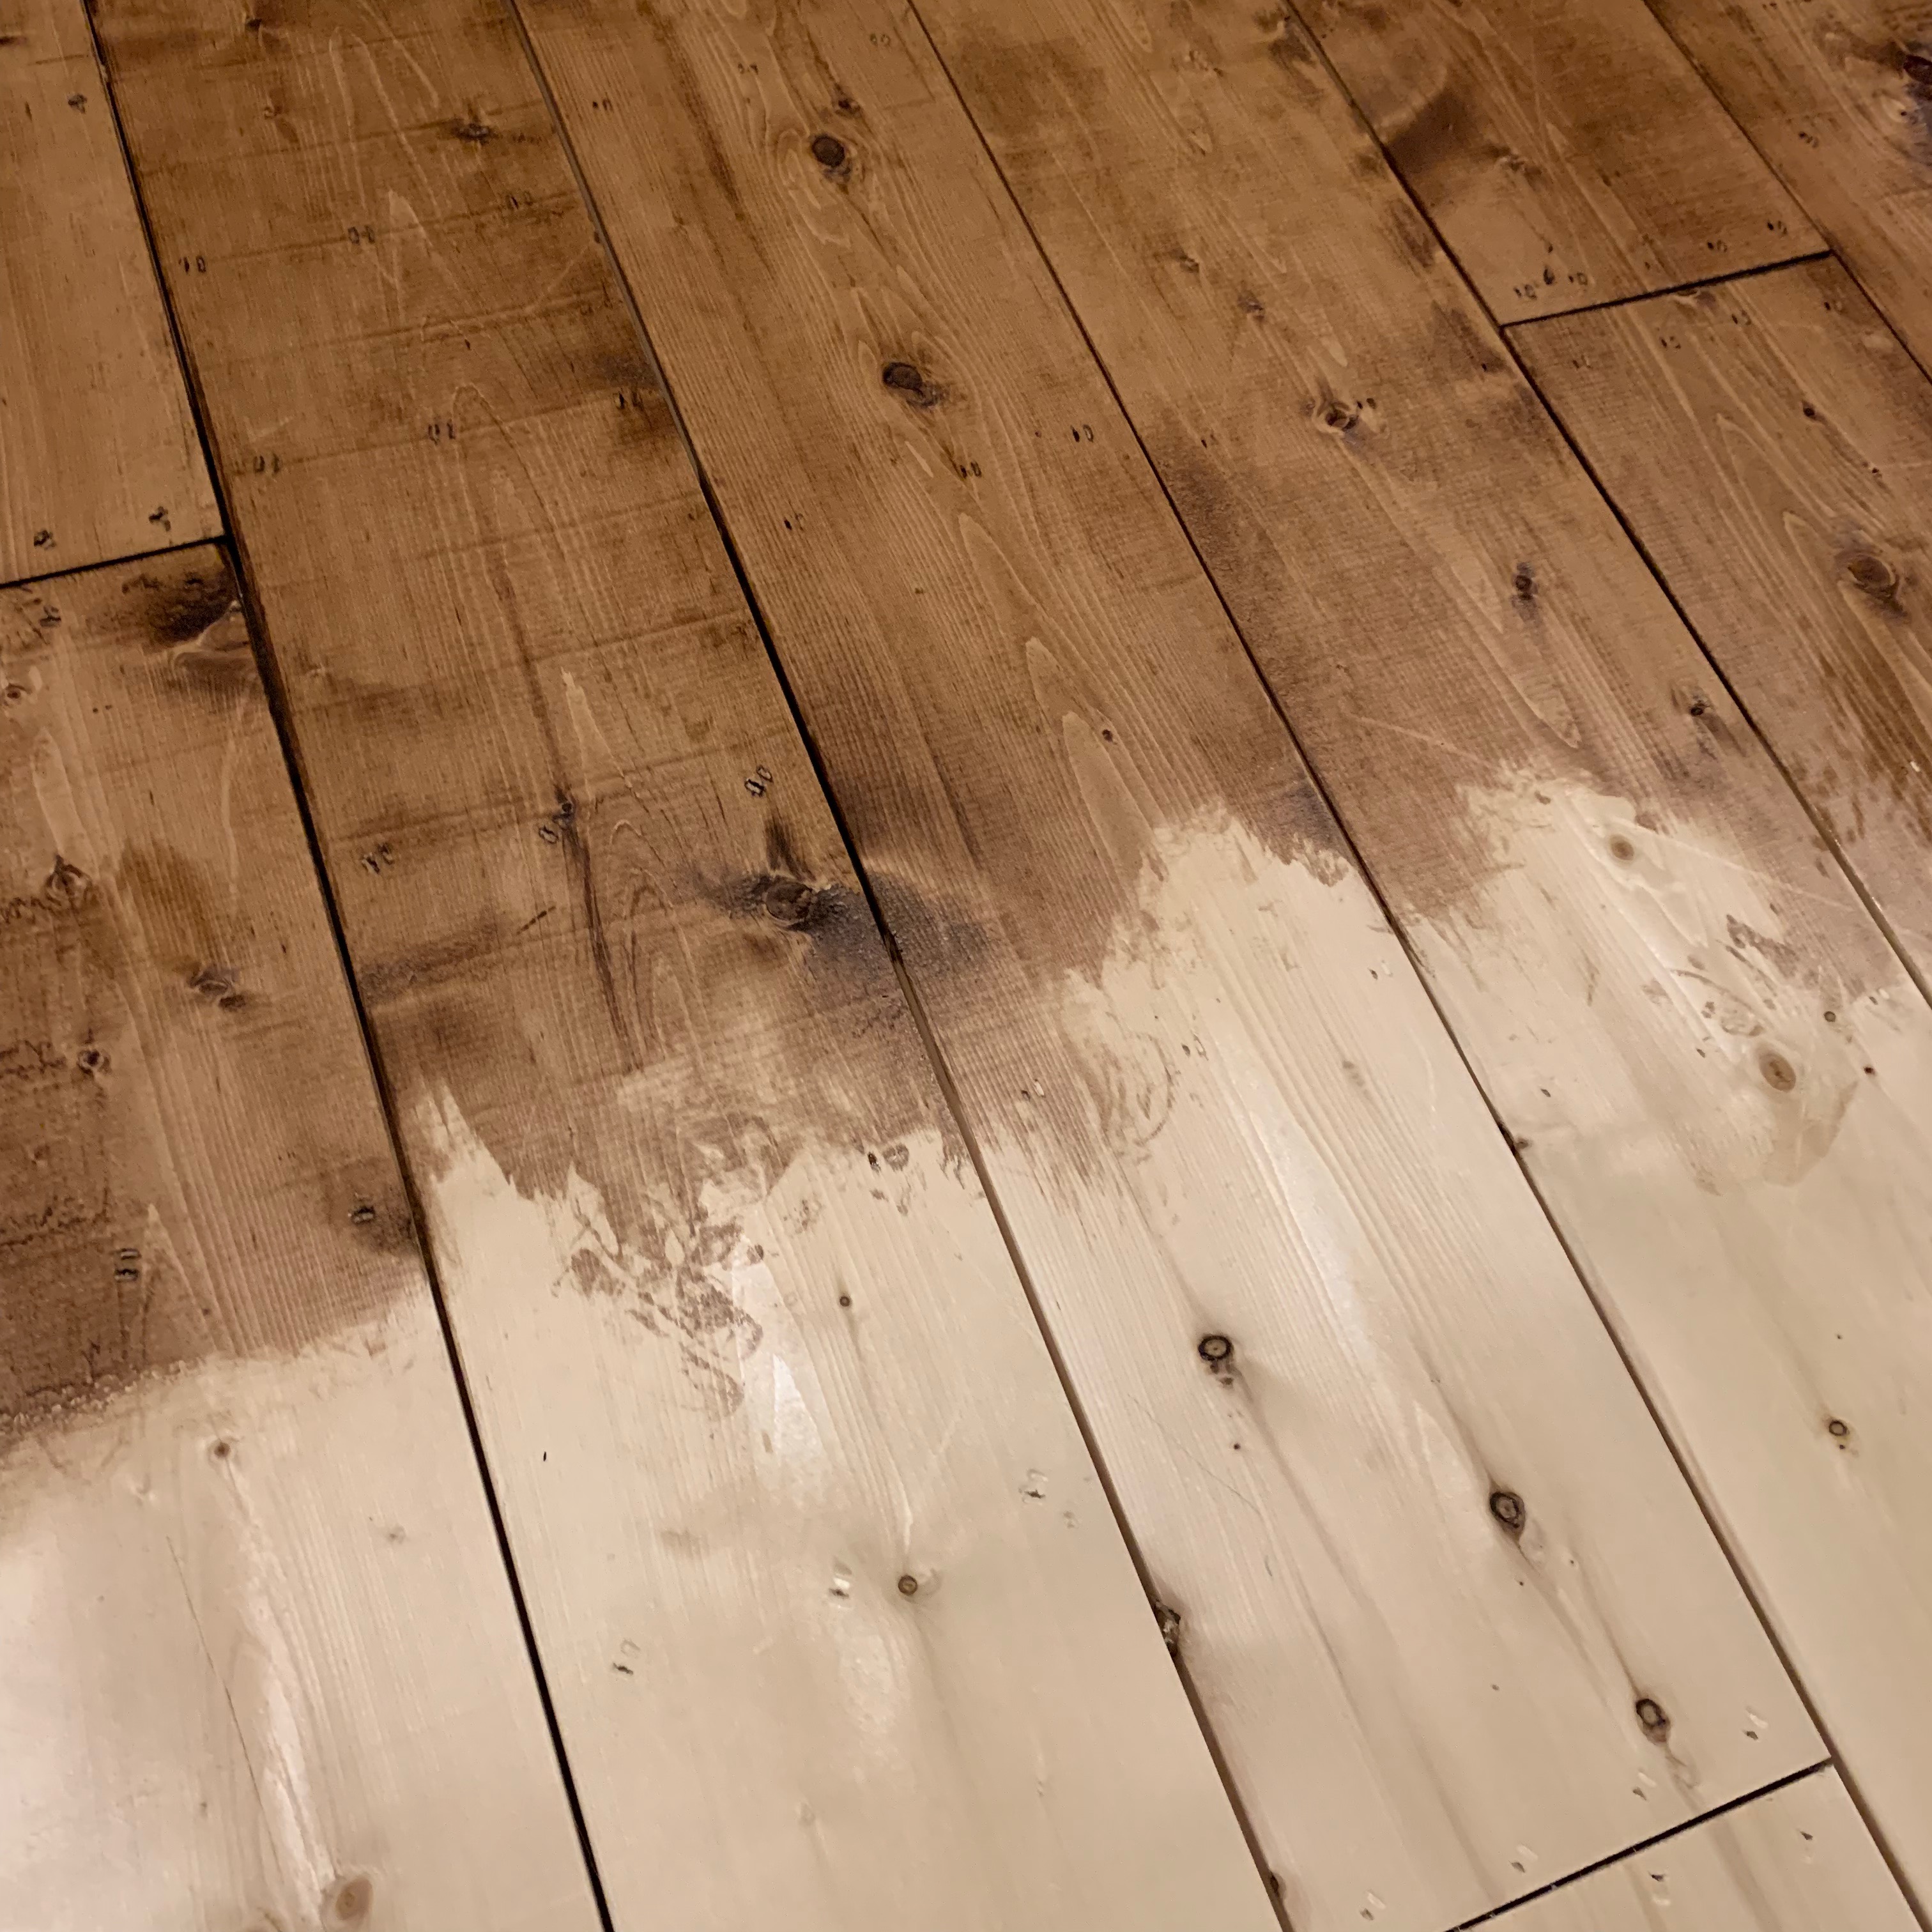
Second coat:
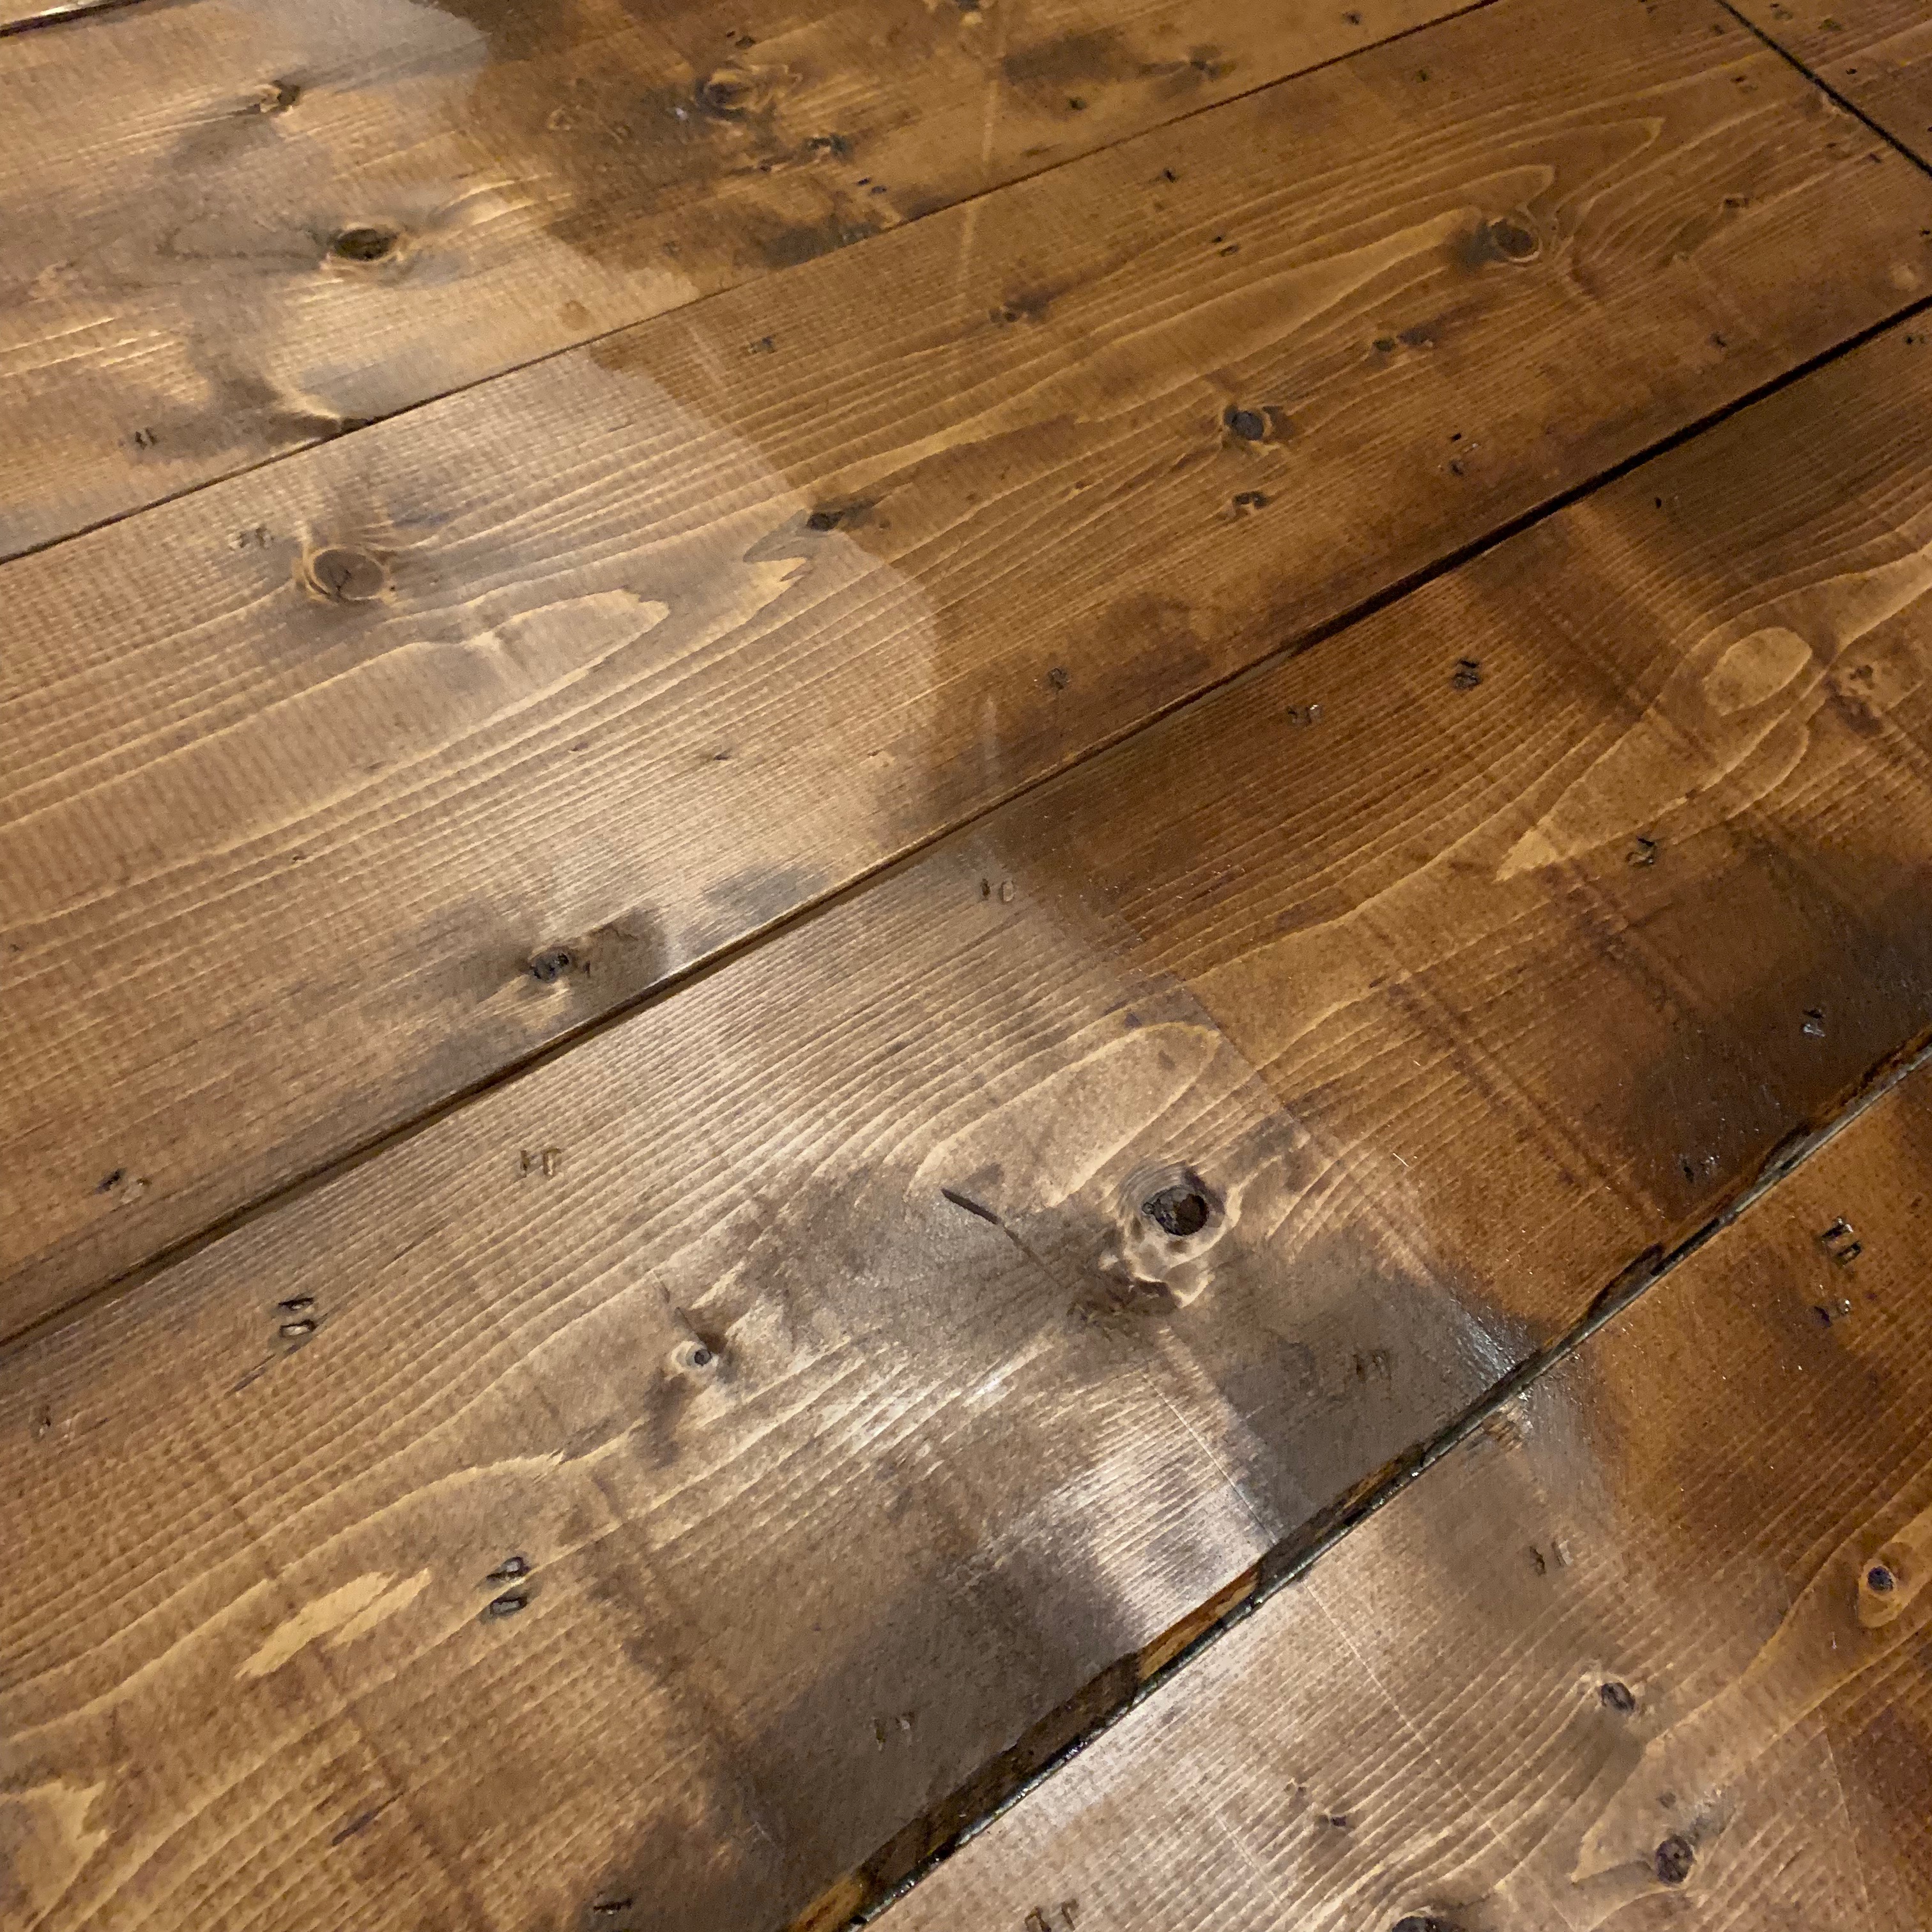
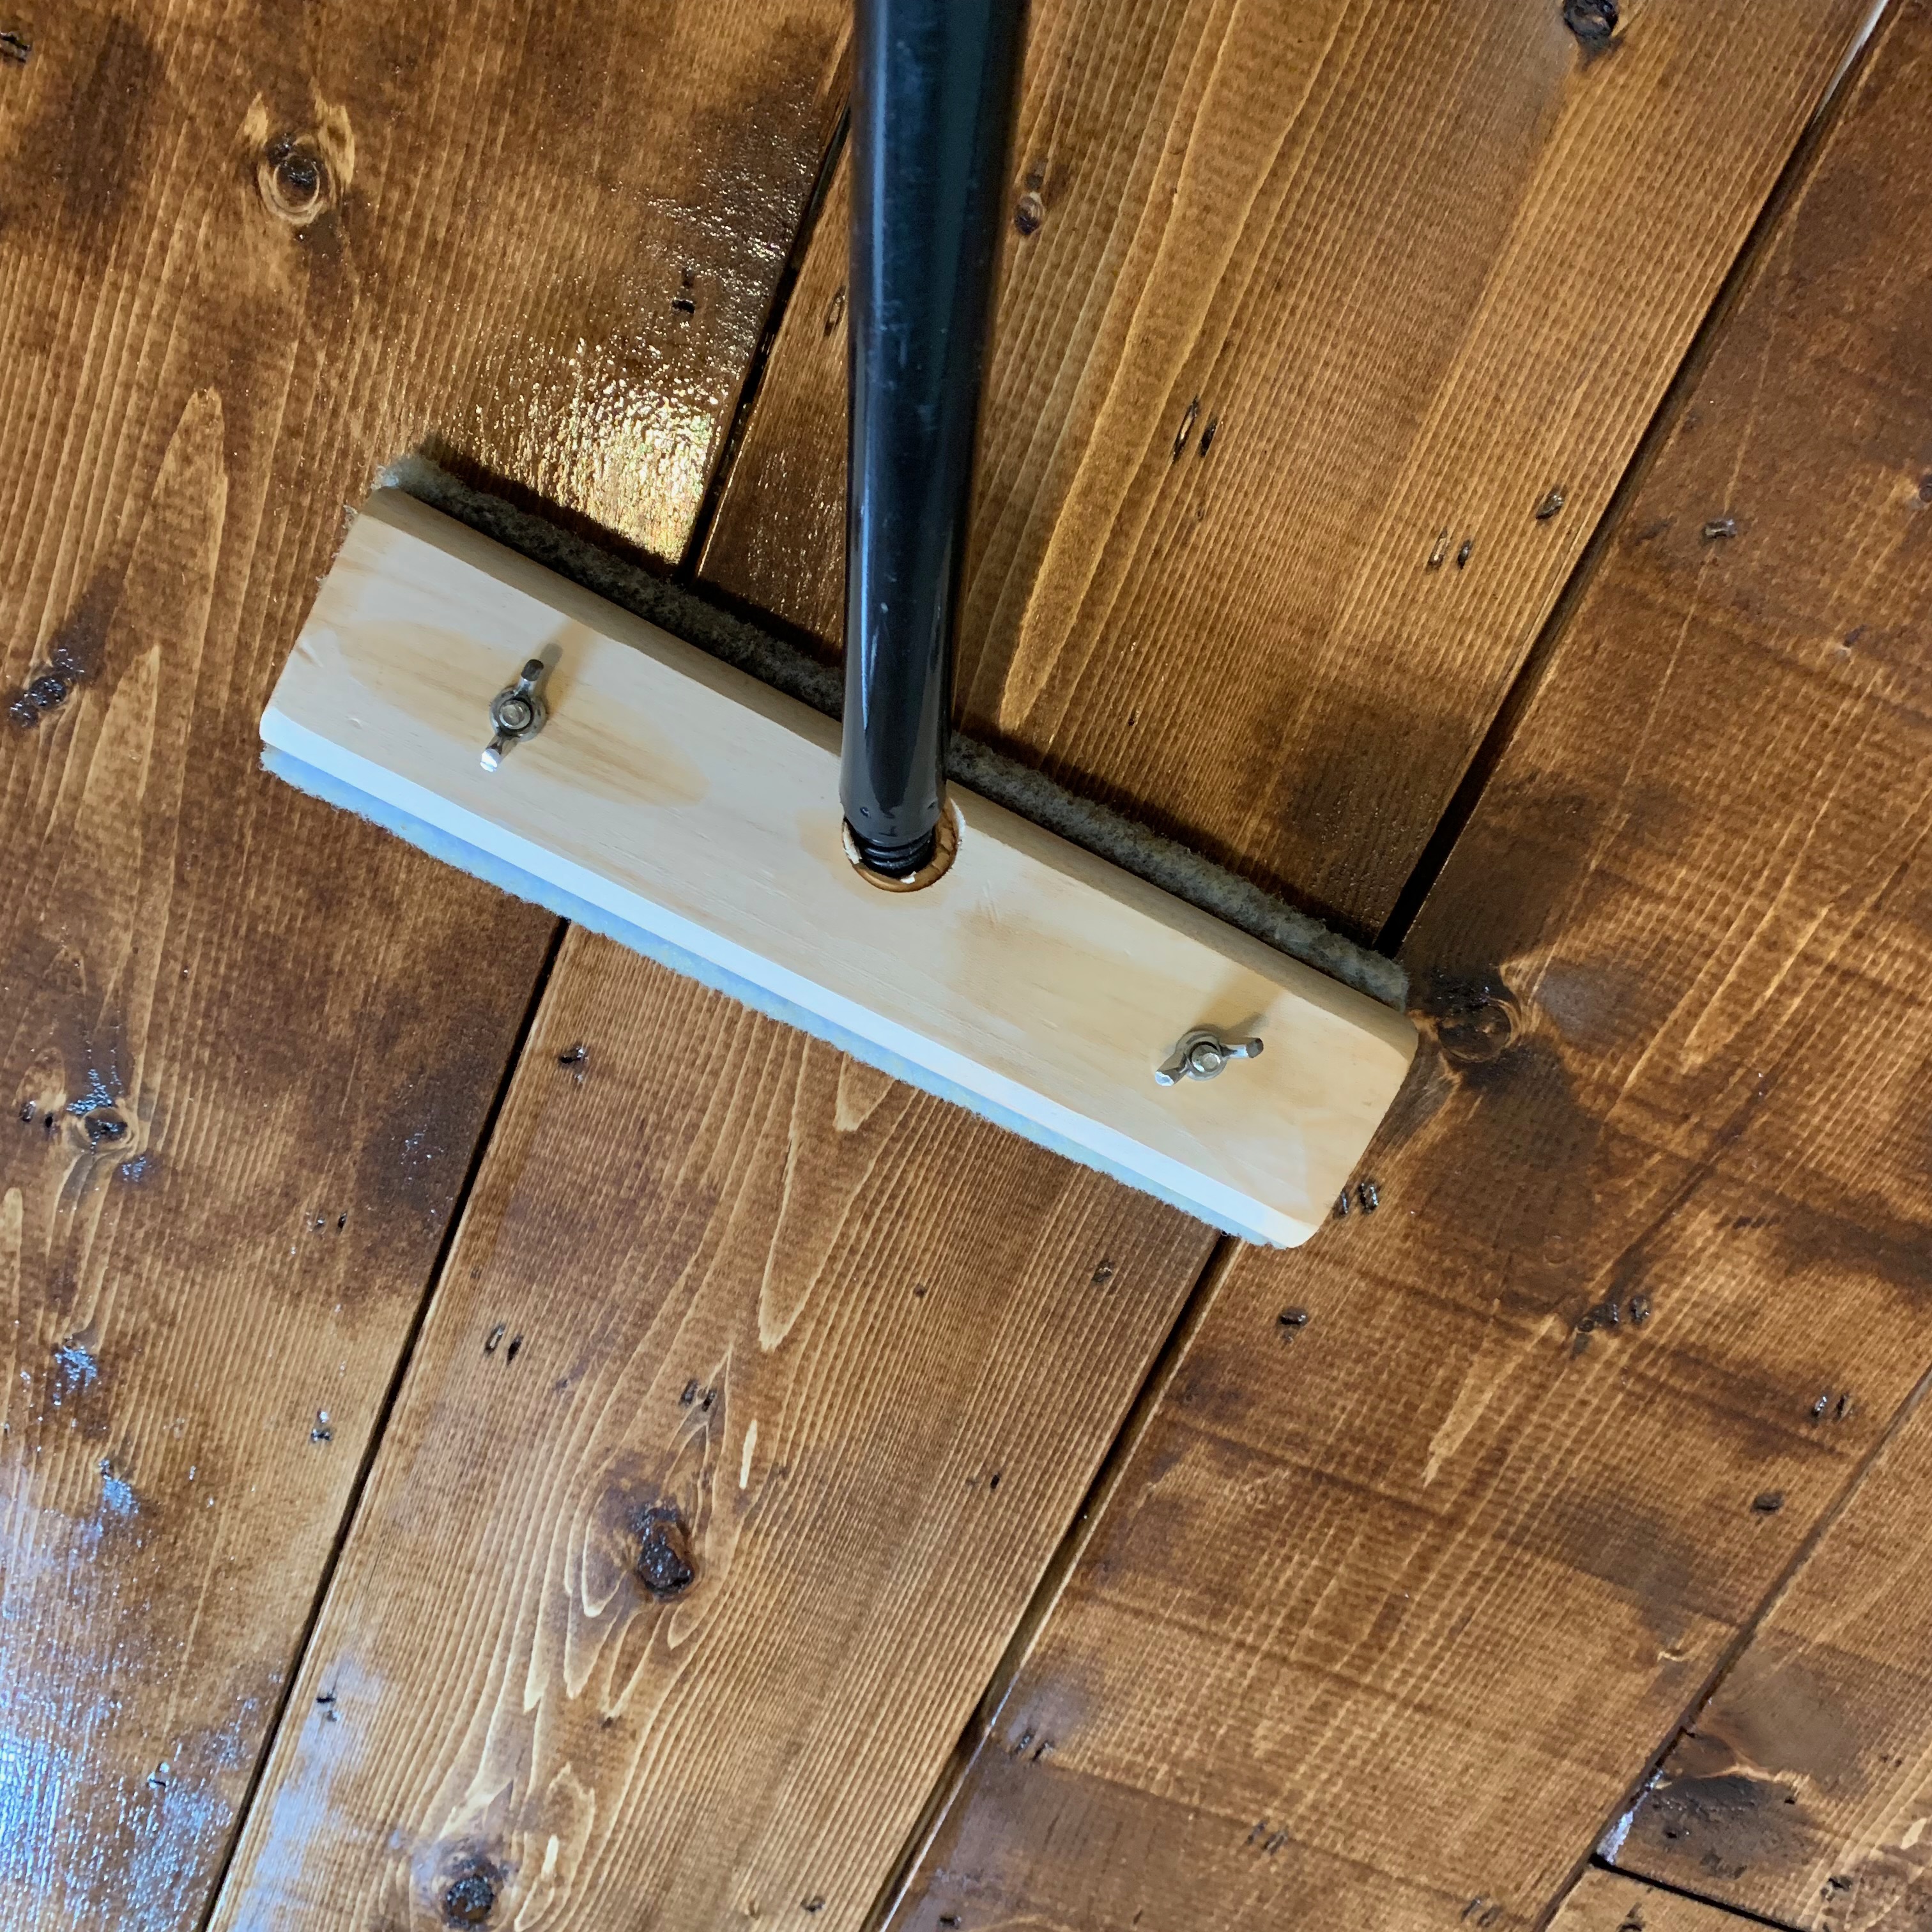
Applied 3 coats of Rustoleum Varathane ProFinisher in ‘Matte’. Although when applying Varathane to furniture, sanding in between coats gives you the best finish… I opted not to sand in between coats for this floor. I saved oodles of time, and have no regrets… turned out just lovely:
Waited 72 hours for Varathane to fully dry:

Restored n’ transformed a Vintage Tall Boy Dresser and an Antique Washstand with charming Country Chic Paint products. Given the furniture that was in our now 19 y/o boys’ bedroom had been in there since he was 2 y/o, replacements were very much required:
And here you have it! Our very own DIY transformed bedroom for our boy… with all the farmhouse finishings this farmwife dreamed of — rustic wood flooring and charmingly chic furniture! And ALL for less than $500! <3
Next up? We hope to do the same to our den and living-room in Spring 2020, and lastly our bedroom in Spring 2021.🤞🏻
I hope you visit again! My #farmlifebestlife awaits more simple living, generous loving and constant learning — graced with an abundance of country chic character and sweet imperfections, both for me and for YOU! ❤
This post contains non-affiliate links to products I personally use, trust, and highly recommend, for which some I receive limited free use of.
My, how I’ve missed your blog!! I’ve been away from WordPress for months. Wow!!! Your new floor is gorgeous! I totally understand the wanting to rip out carpets– getting ready to do that myself. The dresser is absolutely beautiful, too. Hope you’re doing well. ❤️
Hi Jessica! I’ve noticed that you’ve been away for some time from the blog world! Nice to see you back, and I hope you are good and well! Thank you for your kind compliments, and welcome back! <3
Yes, ma’am, guess you could say I have been off on other adventures. Thank you for the warm welcome! Can’t wait to see more of your posts!
Hi there,
Amazing result. I would like to do the same in our new house.
Can you tell me which type of nails for air gun did you use?
Thanks and keep up the good work
B.
Hello and thank you for stopping by! We used 2″ ‘finishing’ air nails. Worked like a charm! We look forward to doing a 3rd room Spring 2020! HUGE savings from having real hardwoods installed (which we couldn’t even dream of)! HUGE! We are VERY happy with the results! If you don’t mind imperfections… embrace them rather like I do, you too will love the outcome! <3
I don’t mind the imperfections, actually I aim for it.
I see a small dent in the board next to each nail.
This is from the air gun i suppose?
Sweet! Sweet imperfections! YES… I too would assume that is from the air nailer… hubs did that part of the job, so I can’t say for sure… but highly suspect yes, that is what caused those dents. 🙂
Amazing result. Congrats. How did you apply the two coats of Miniwax? I literally know nothing. And it looks like you used a sponge mob for the finisher? Thanks.
Hi Jason! I applied the Minwax Wood Finish with a lint-free cloth, and YES… I used a sponge mop to apply the Rustoleum Varathan Pro-Finisher which worked like a charm! Thanks for stopping by! 🙂