So here’s the thing. I absolutely LOVE painting furniture in dark colours— black, ash, charcoal, navy blue, midnight blue; my list goes on. There is however a HUGE drawback to painting in dark colours— they are impossible to accurately picture! Well impossible for me that is; as I ain’t no photographer! I don’t know what it is about the dark hues, but when I try to picture them they blotch and streak and challenge me so! But I just can’t stop painting in dark colours! And this piece was NO exception— I knew from the moment I picked her up, I just had to paint her in the darkest navy blue that ever existed! And so I did!
Featuring
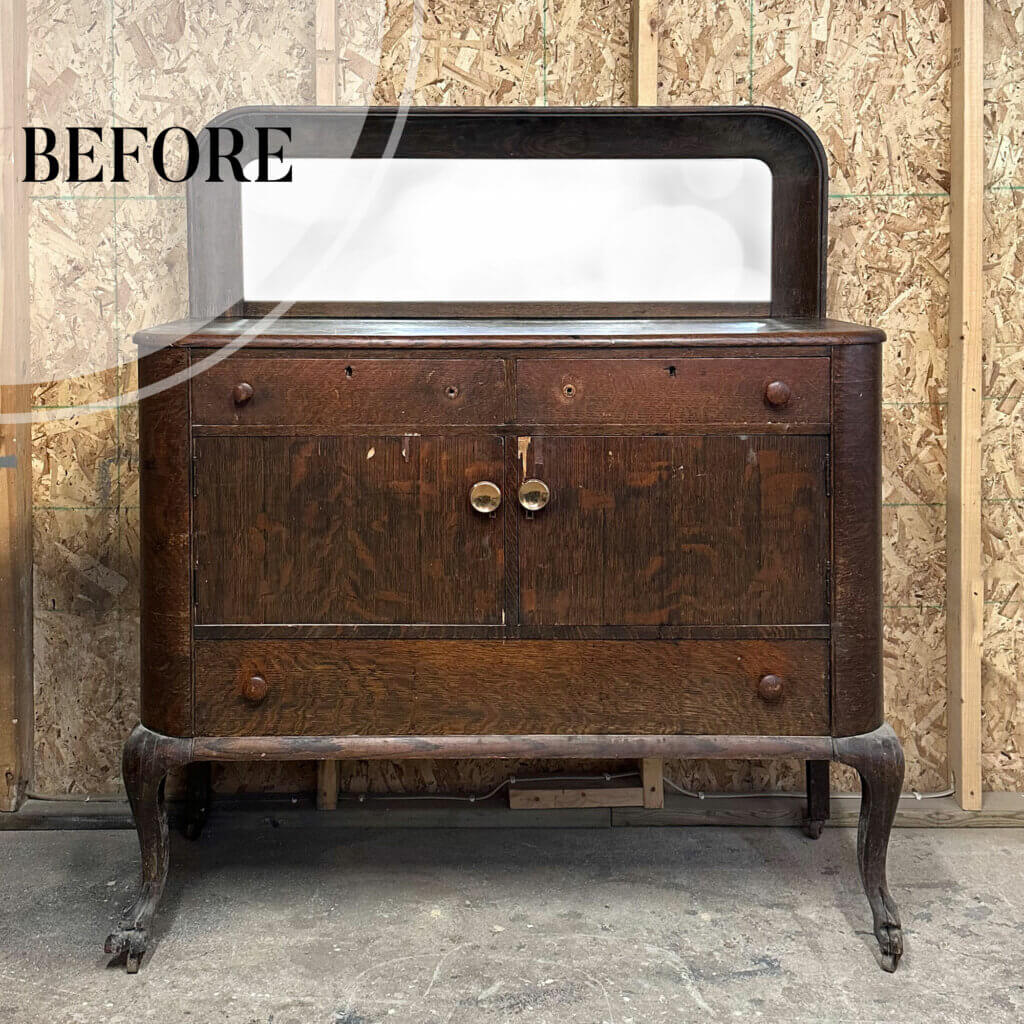
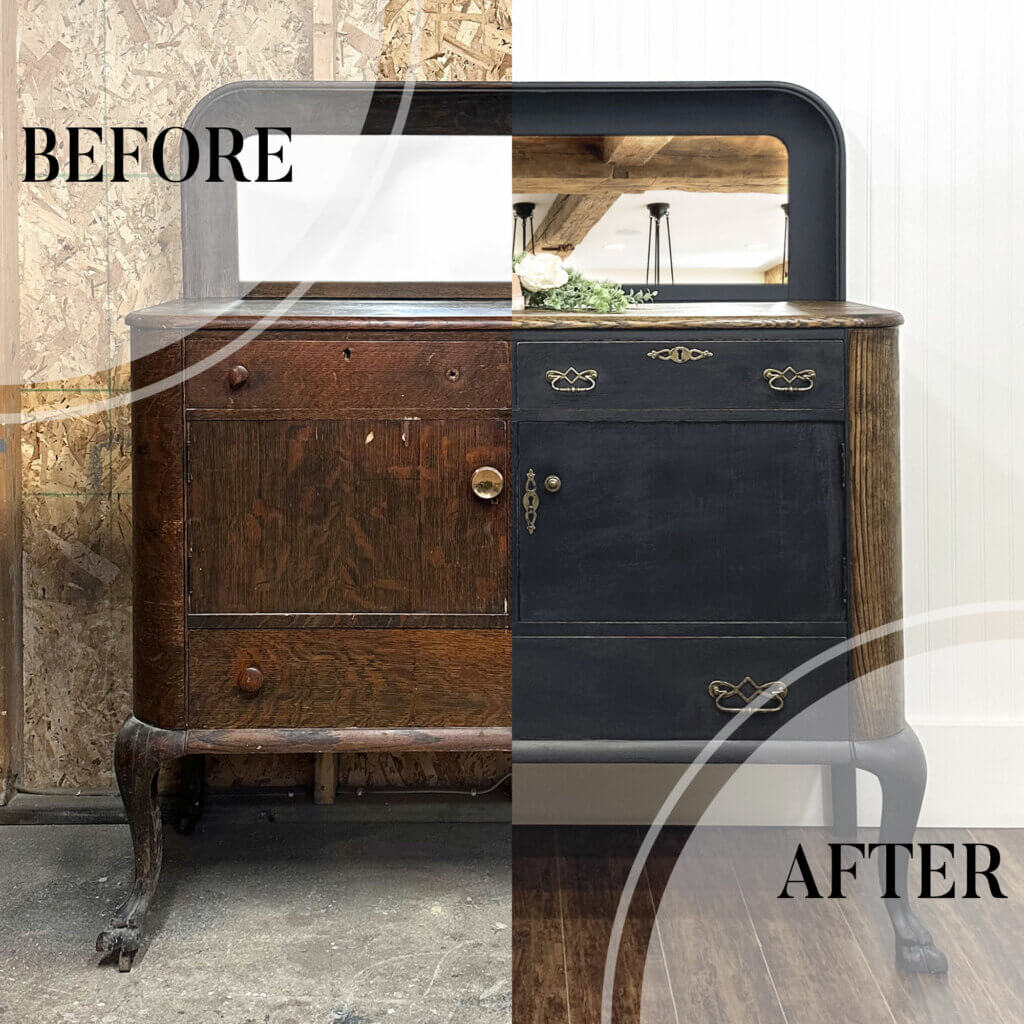
Before & After
Stately & Sexy Sideboard
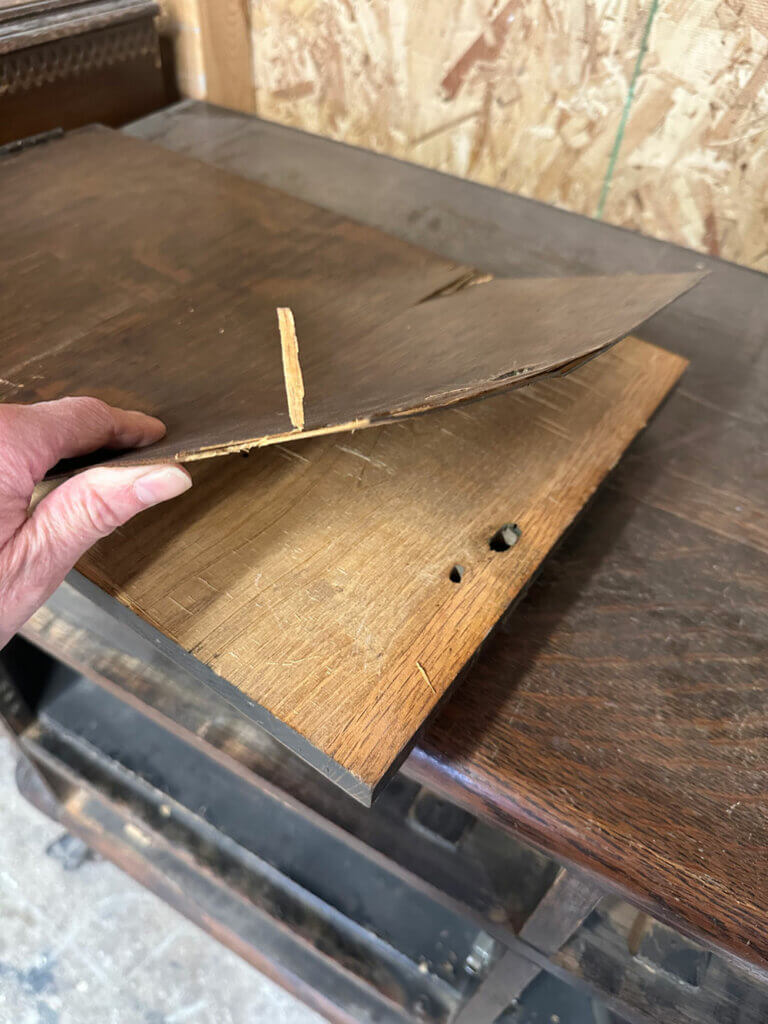
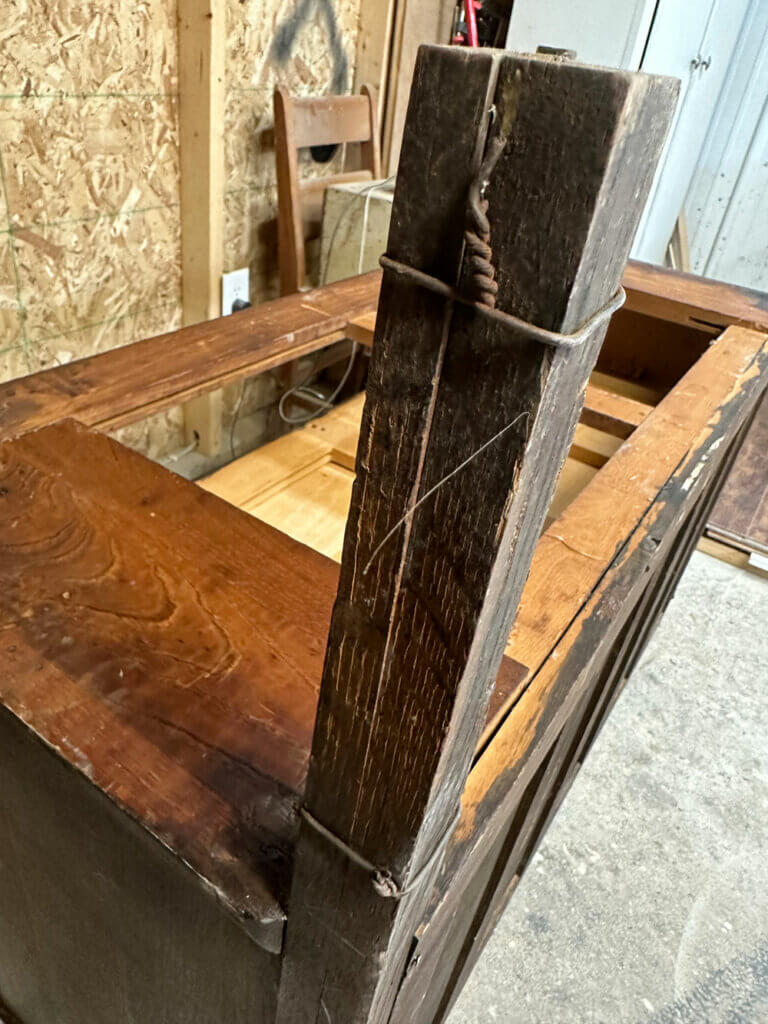
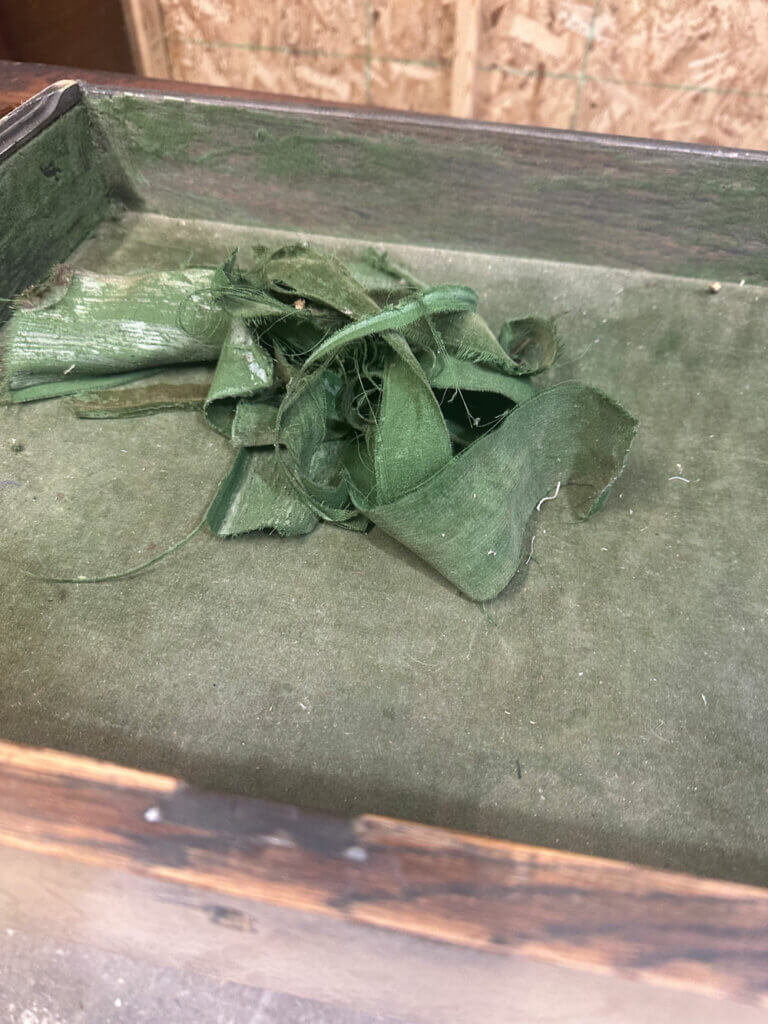
A very dear and life-long friend offered up this amazing piece to me! “It’s all yours Faye! If you want it, I want you to have it! Do your magic!” I tell ya— the kindness of some folk never ceases to amaze me! I was in absolute awe when my hubby and I went to pick it up! Although it held some challenging damage, a solid and strong oak frame she still had! I couldn’t wait to get my hands on this very unique antique buffet, and knew I had much work cut out for me!
selectively salvaged & loved by me
For YOU
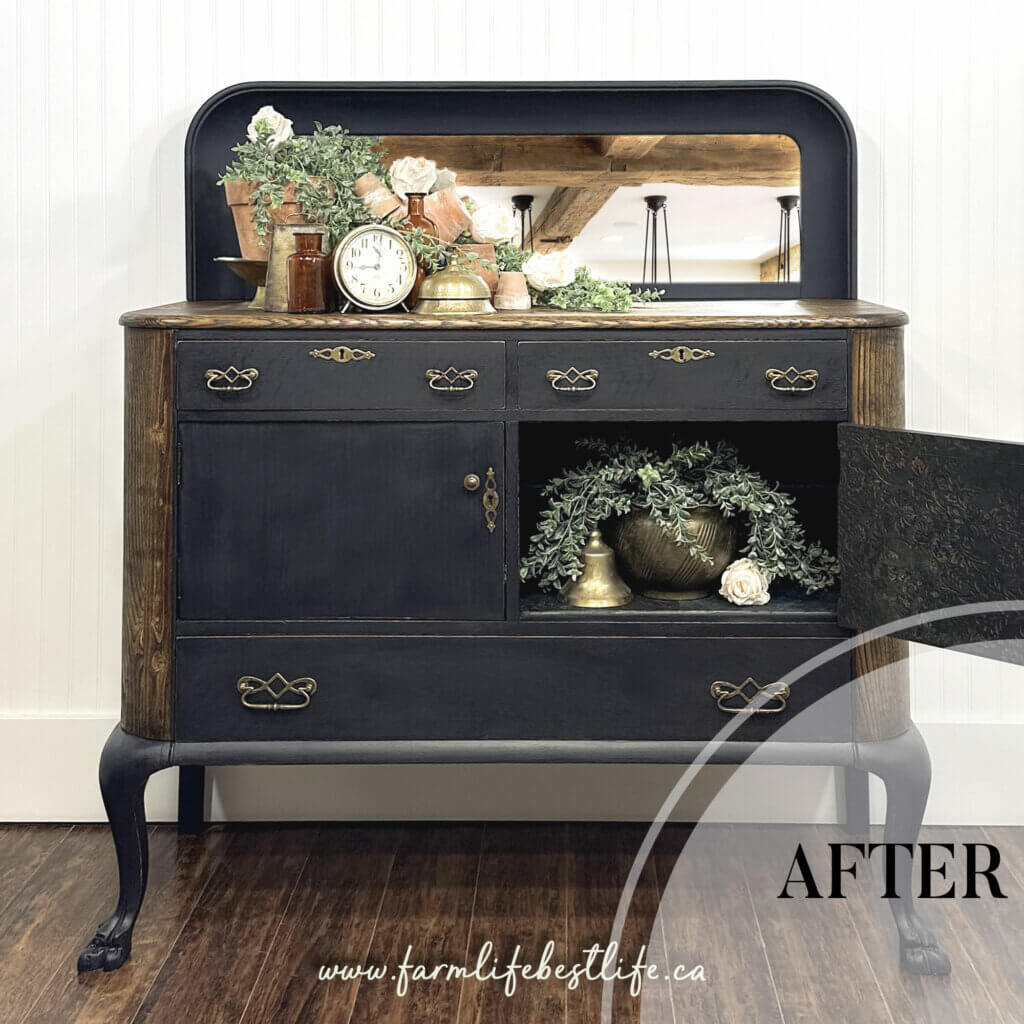
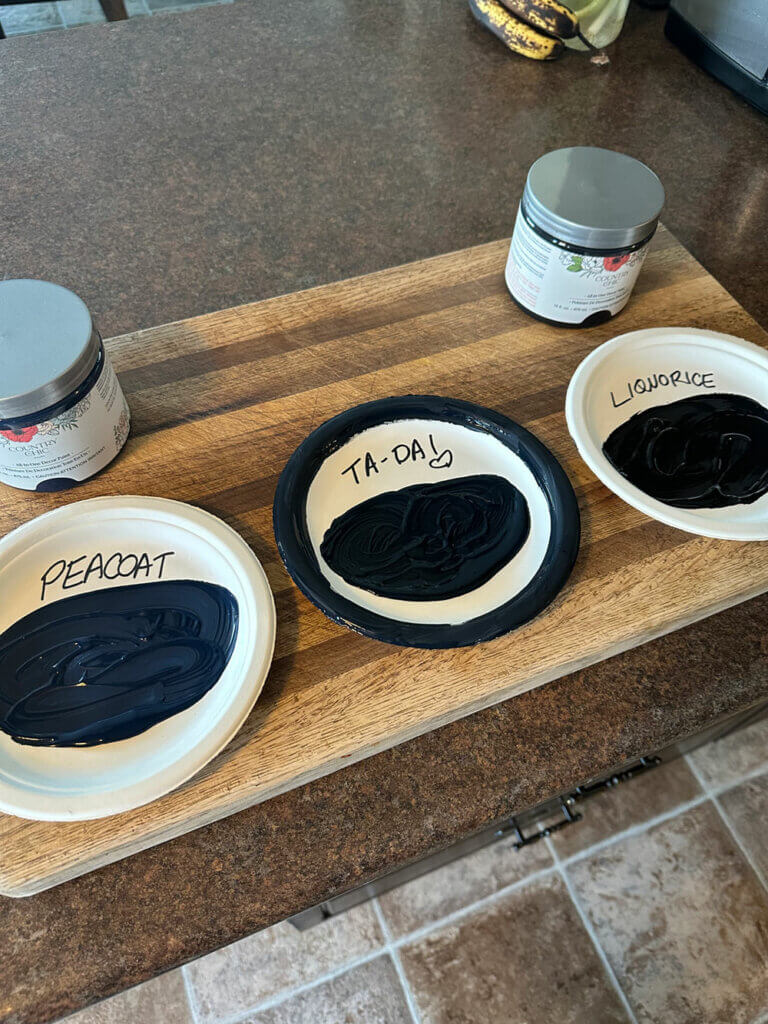
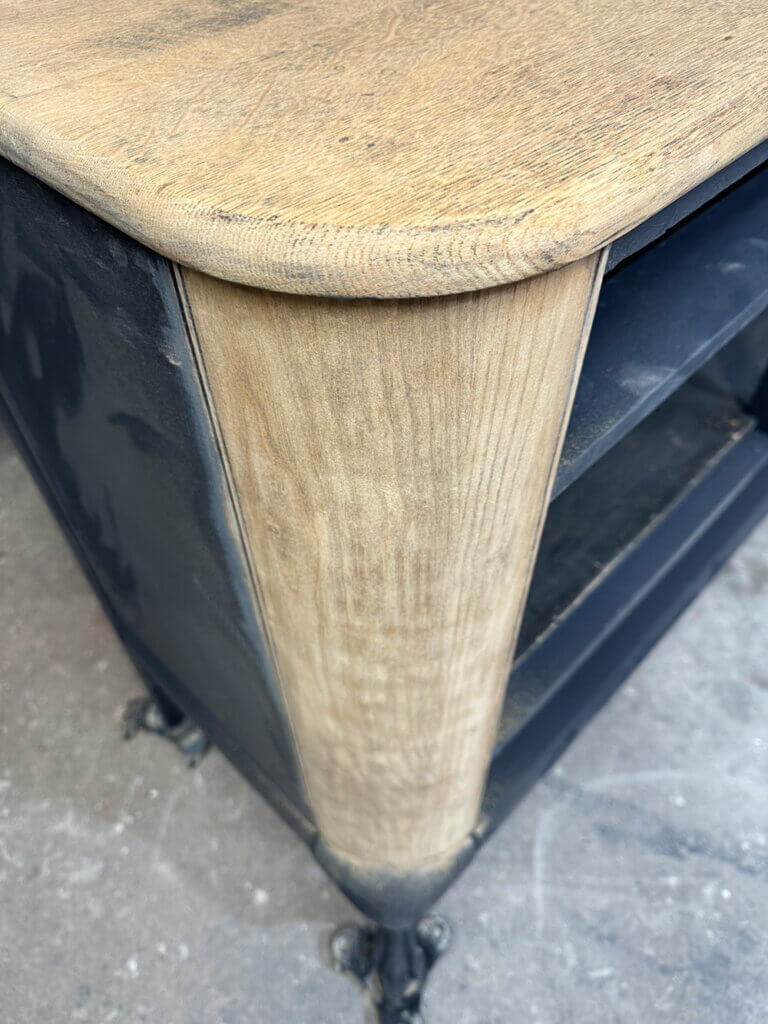
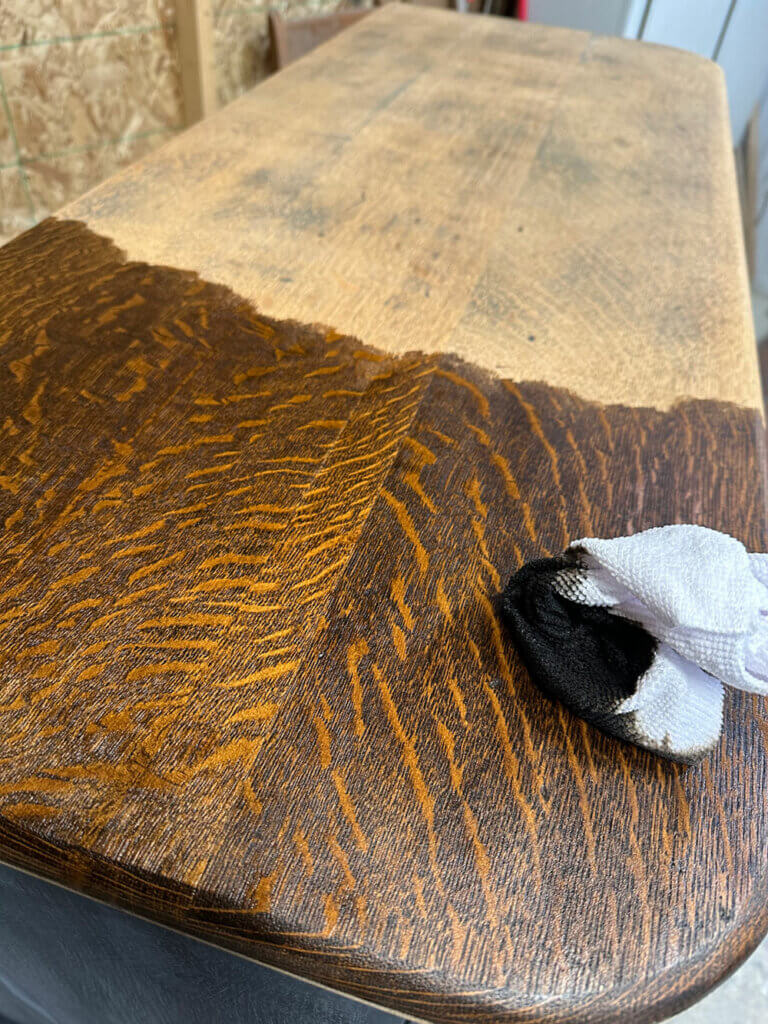
An extremely unique antique buffet that was in need of much tender loving care! The first I’ve seen in this style— with rounded front edges, clawfoot paws, and curved mirror ledge. Transformed in the darkest navy blue that ever existed; that I custom blended myself! So dark it appears almost black in my pictures— I however assure you there is blue in there, and is very visible in certain lighting! Opting to stain the top and rounded front edges was an easy choice— just look at that solid oak grain! I wasn’t heart broken that the original hardware was missing; as selecting new replacements never disappoints! A stately & sexy sideboard waiting to make a statement in your home or cottage!
Stately Farmhouse Furniture
Antique Sideboard Restoration
Below you’ll find all of the photos I took after completing my furniture flip transformation. On-screen colours are merely a digital representation, and will vary from screen to screen (device to device). Depending on your screen/device, the colour(s) seen here on my website may seem slightly different in person.


My Step-by-Step Transformation
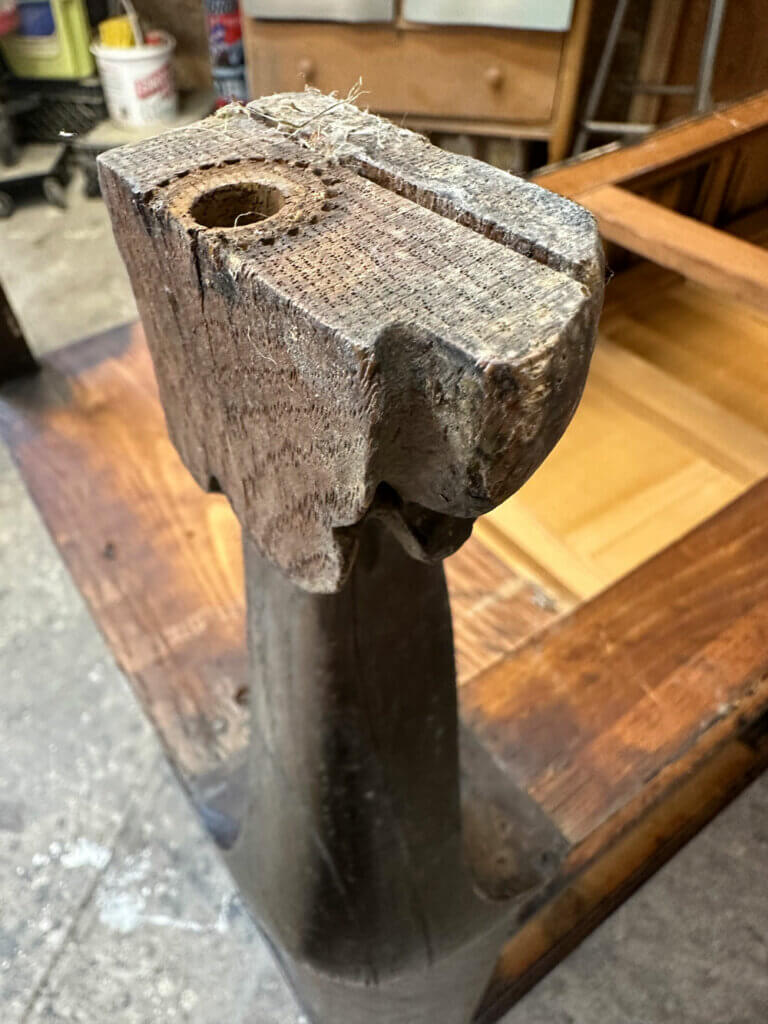
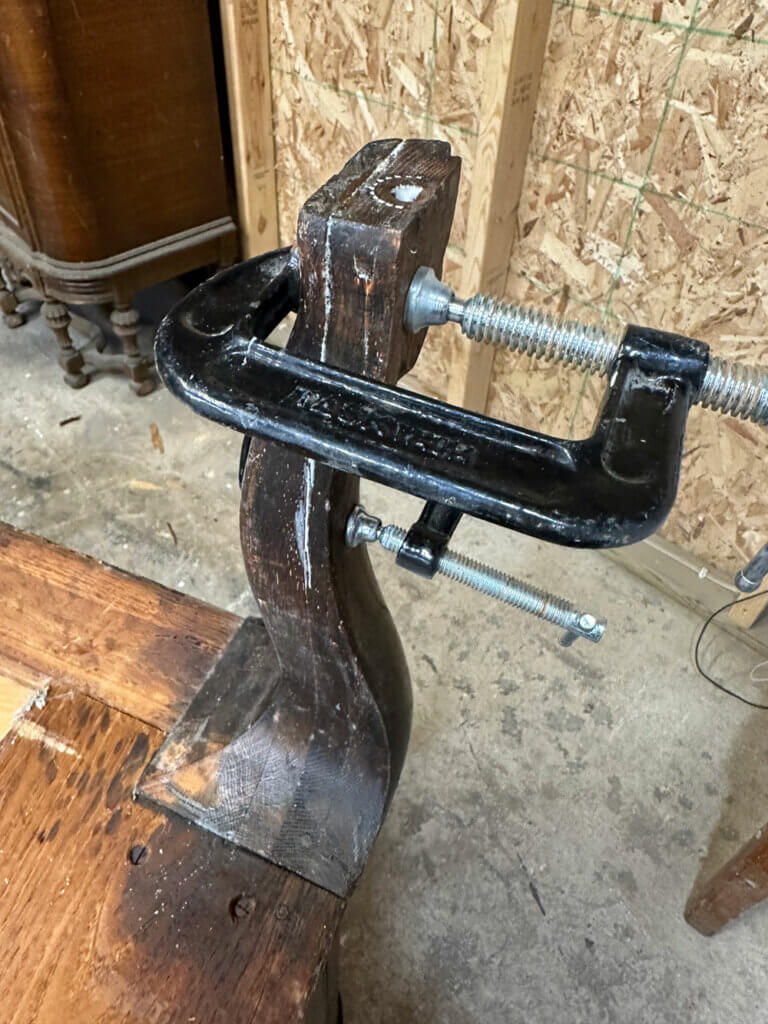
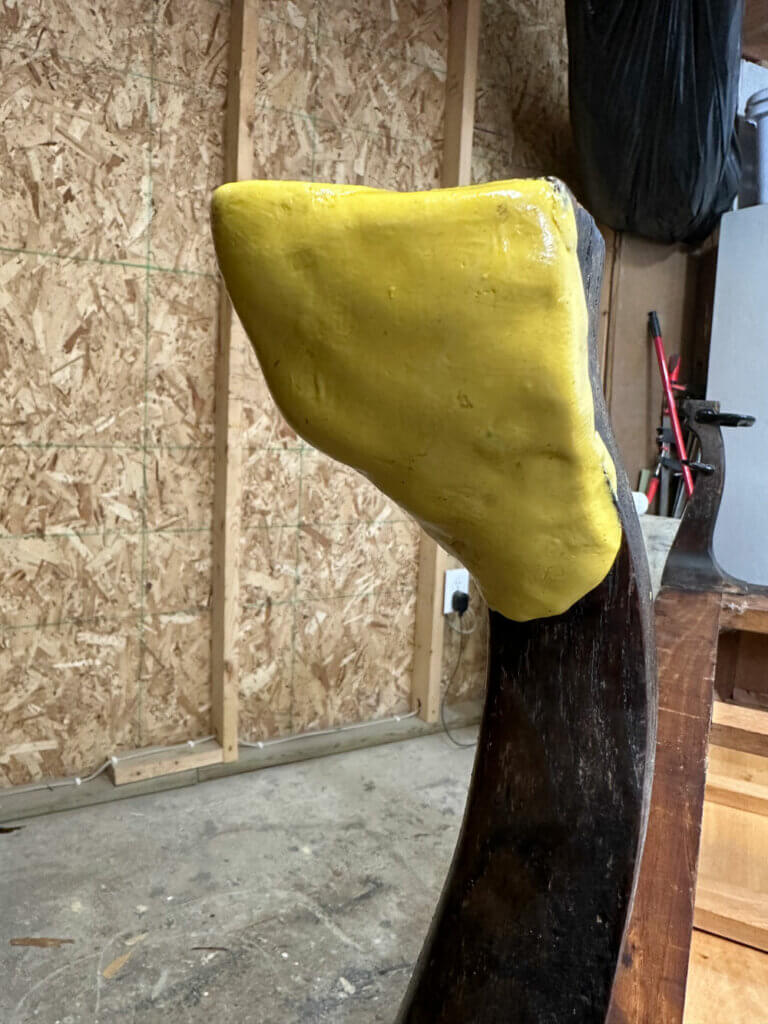
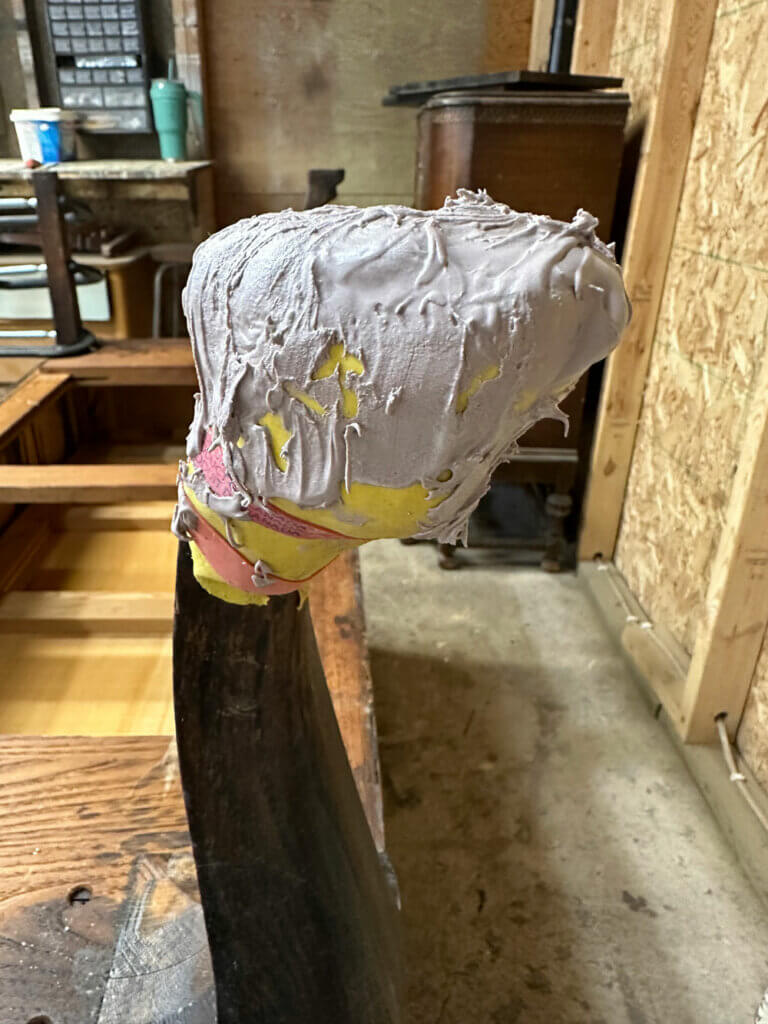
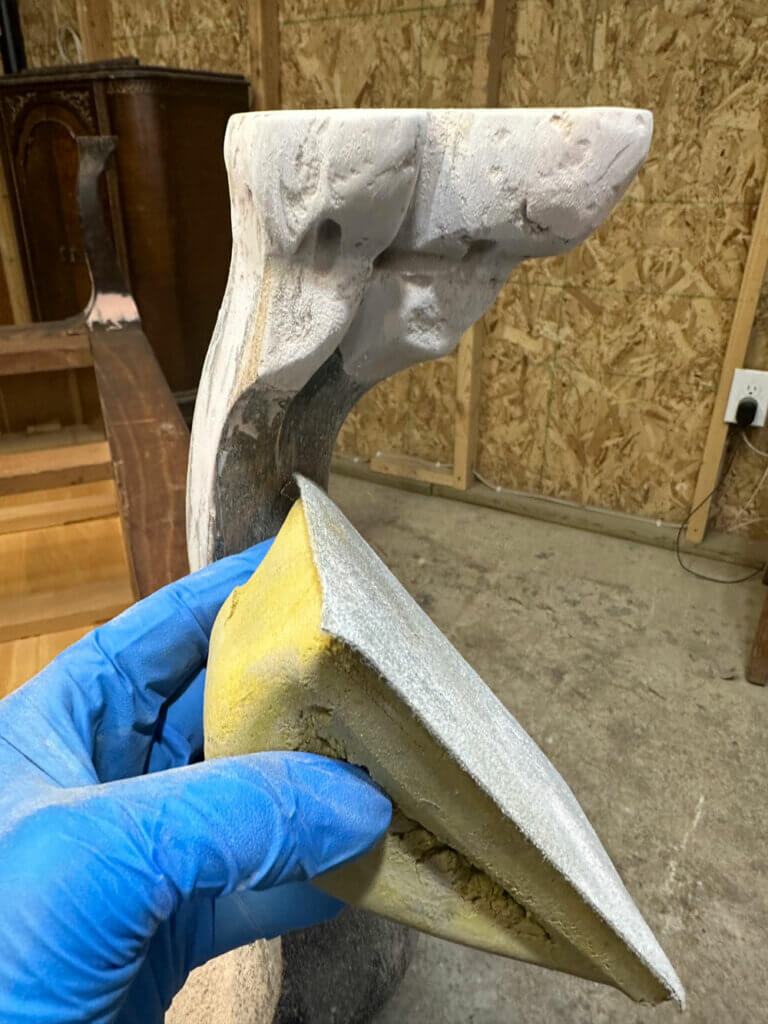
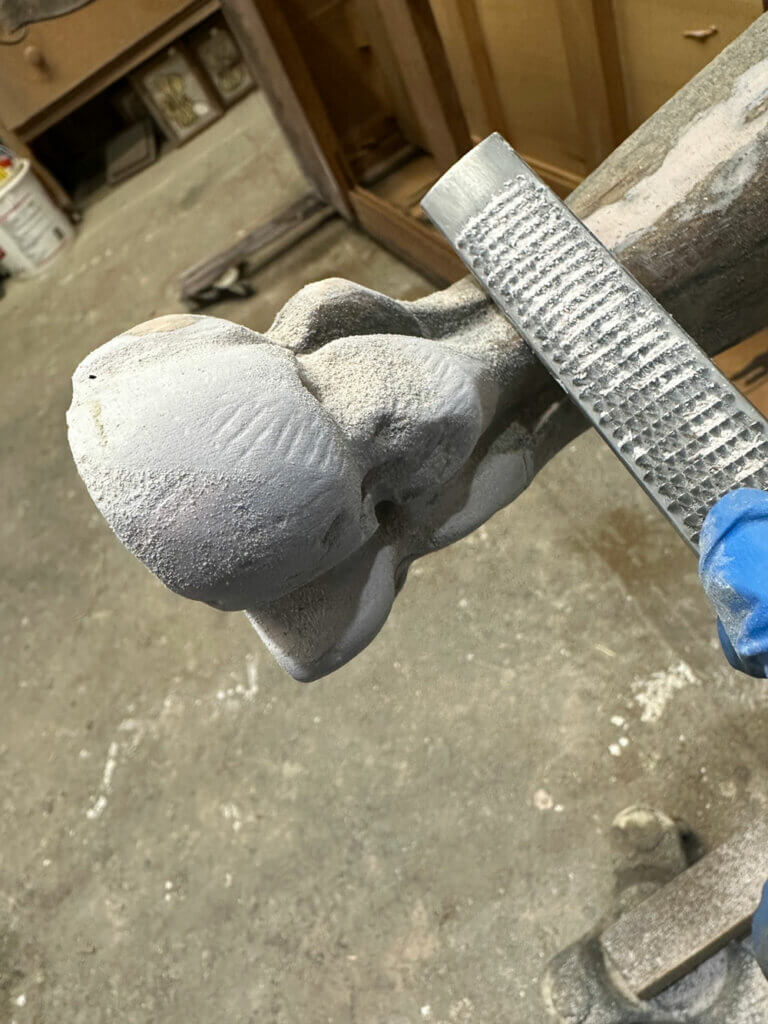
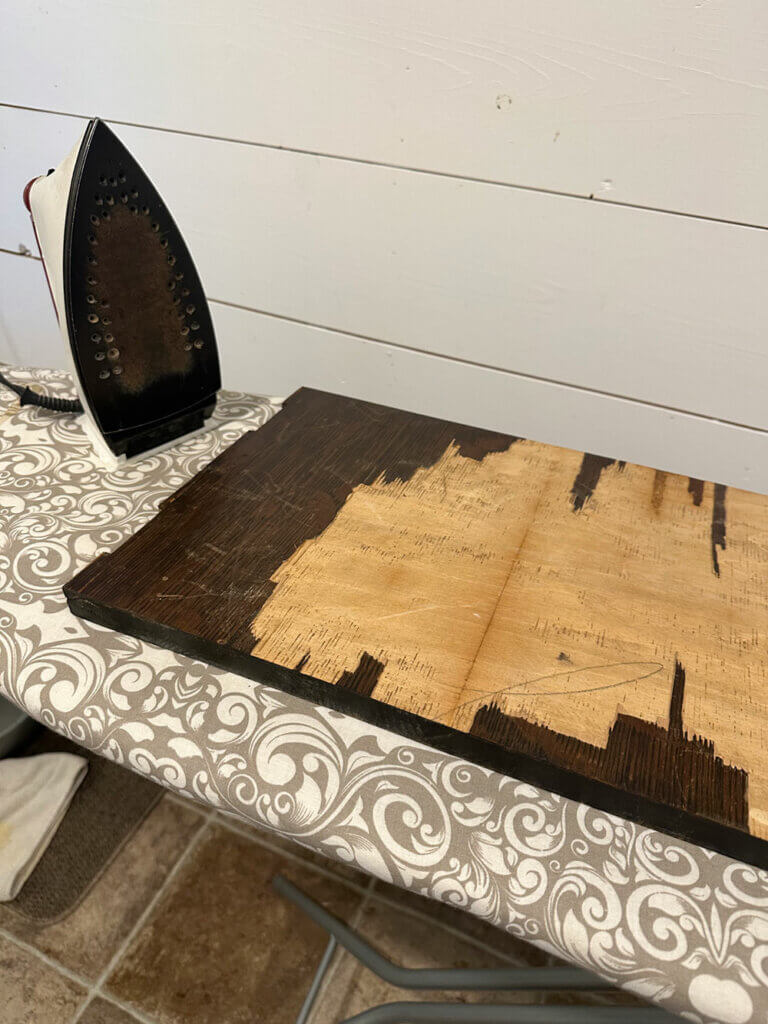
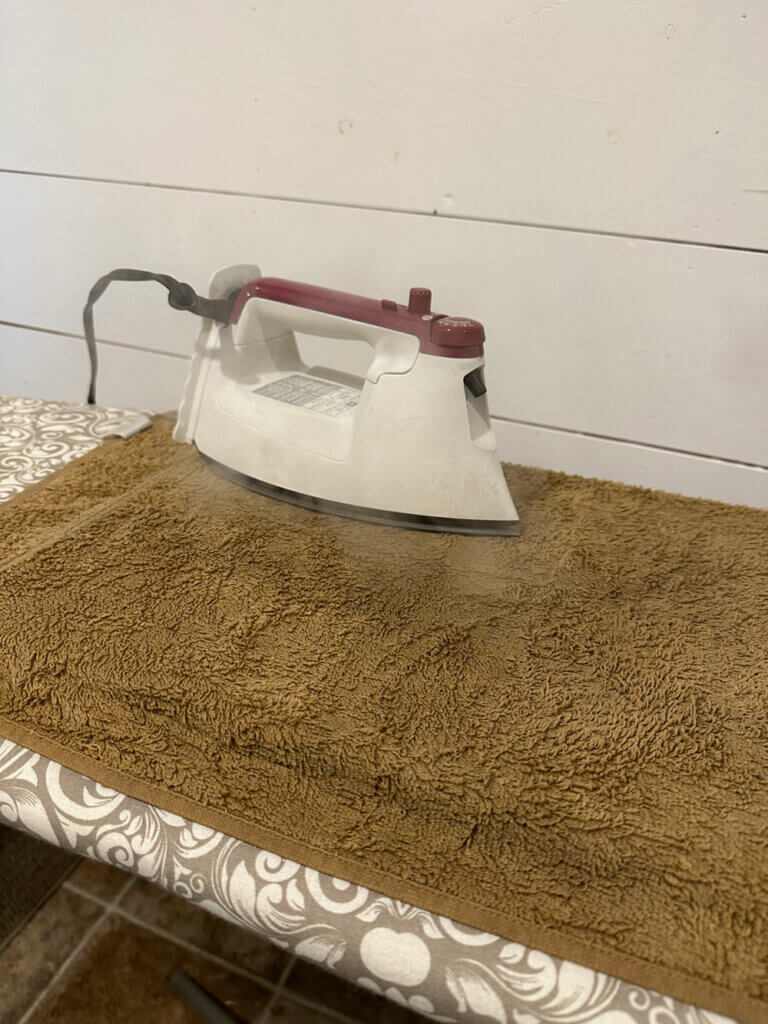
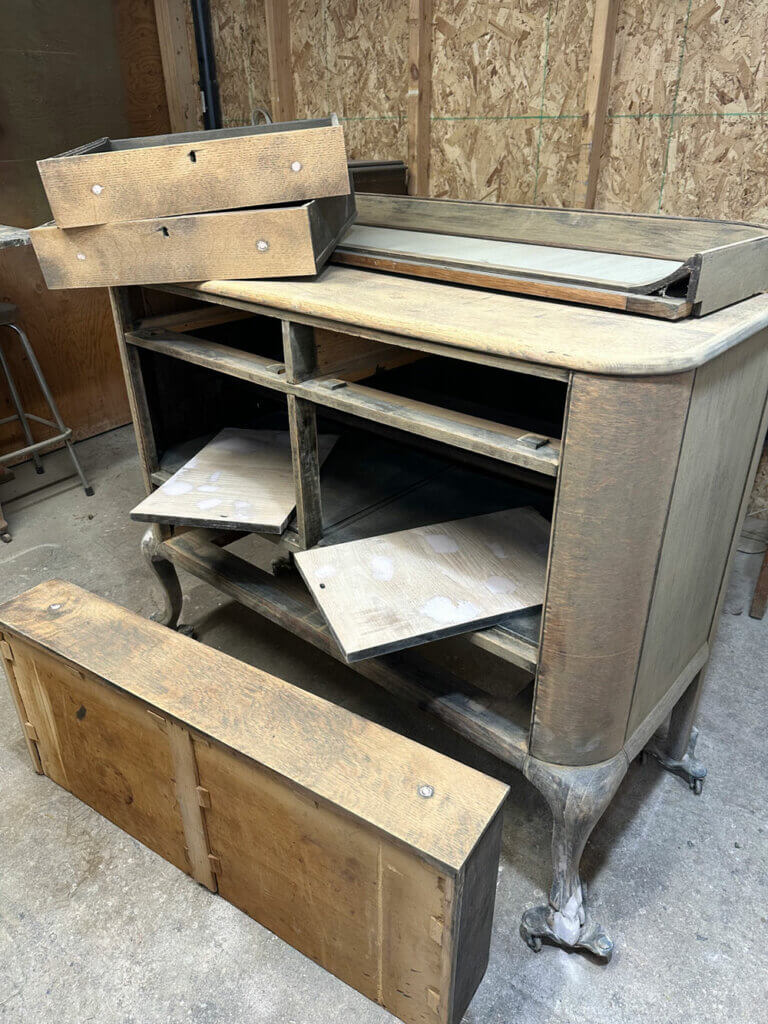
Photos from My Workshop
I do try to take photos while flipping my pieces! I do, I swear I do! I however tend to get very caught up in the moment, and don’t always think to! Here’s a few I managed to capture with this flip!


Come Take a Closer Look!
I ain’t no videographer I tell ya! I am however determined to try my very best to share a closer look with YOU. Below you’ll find my best; albeit amateur effort at trying to capture this piece in video format (taken out in my workshop where I do it all- prep, transform, picture and vid).
For my Manitoba followers, perhaps you might fancy slipping out to our farm for the closest look- please do get in touch!
This post contains links to products I personally use, trust, and highly recommend, for which some I receive limited discounted use of.
one-hour / one-on-one / $90
I’d Love to Help You
Have a furniture piece that you’d like to paint, but aren’t sure where to start? Struggling with deciding on colour(s), products, techniques, and finishes? I’d love to help you out! Let’s have a phone chat, or meetup for a coffee!